
How to: Set up an Outcome-based Quiz
An Outcome-based quiz asks entrants a set of questions to which they answer, which leads to an outcome that is presented to them (such as recommended products that match best to their answers).
There are multiple Outcome-based quiz Experiences available from the Grow Experience Library:
- Personality Quiz
- Product Match Quiz
- Shopify Product Quiz
- Adobe Commerce Product Quiz
In this article, as an example, we'll set up a Personality Quiz.
Configuring other Outcome-based quiz Experiences is similar.
Create a Personality Quiz
- From the Grow Experience Library, select Personality Quiz.
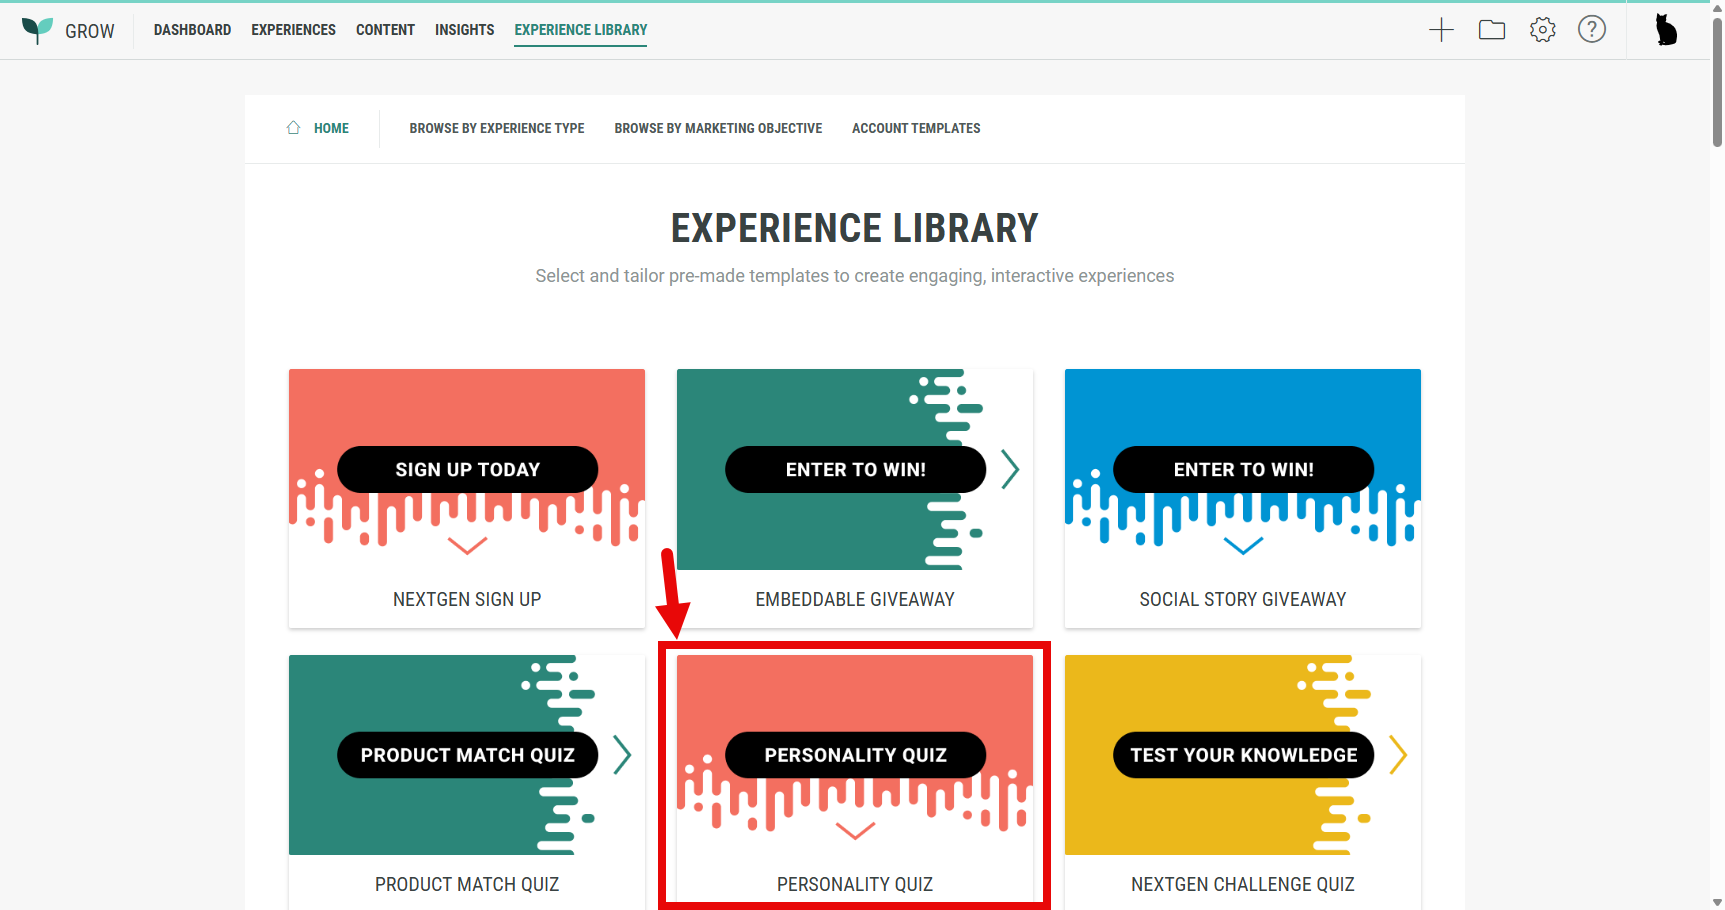
Note: If needed, you can limit the number of Experiences displayed by filtering them.
For example by hovering Browse by Experience type and then selecting Quizzes.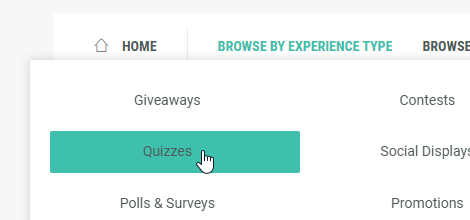
- The next screen shows a summary of what the Personality Quiz is about.
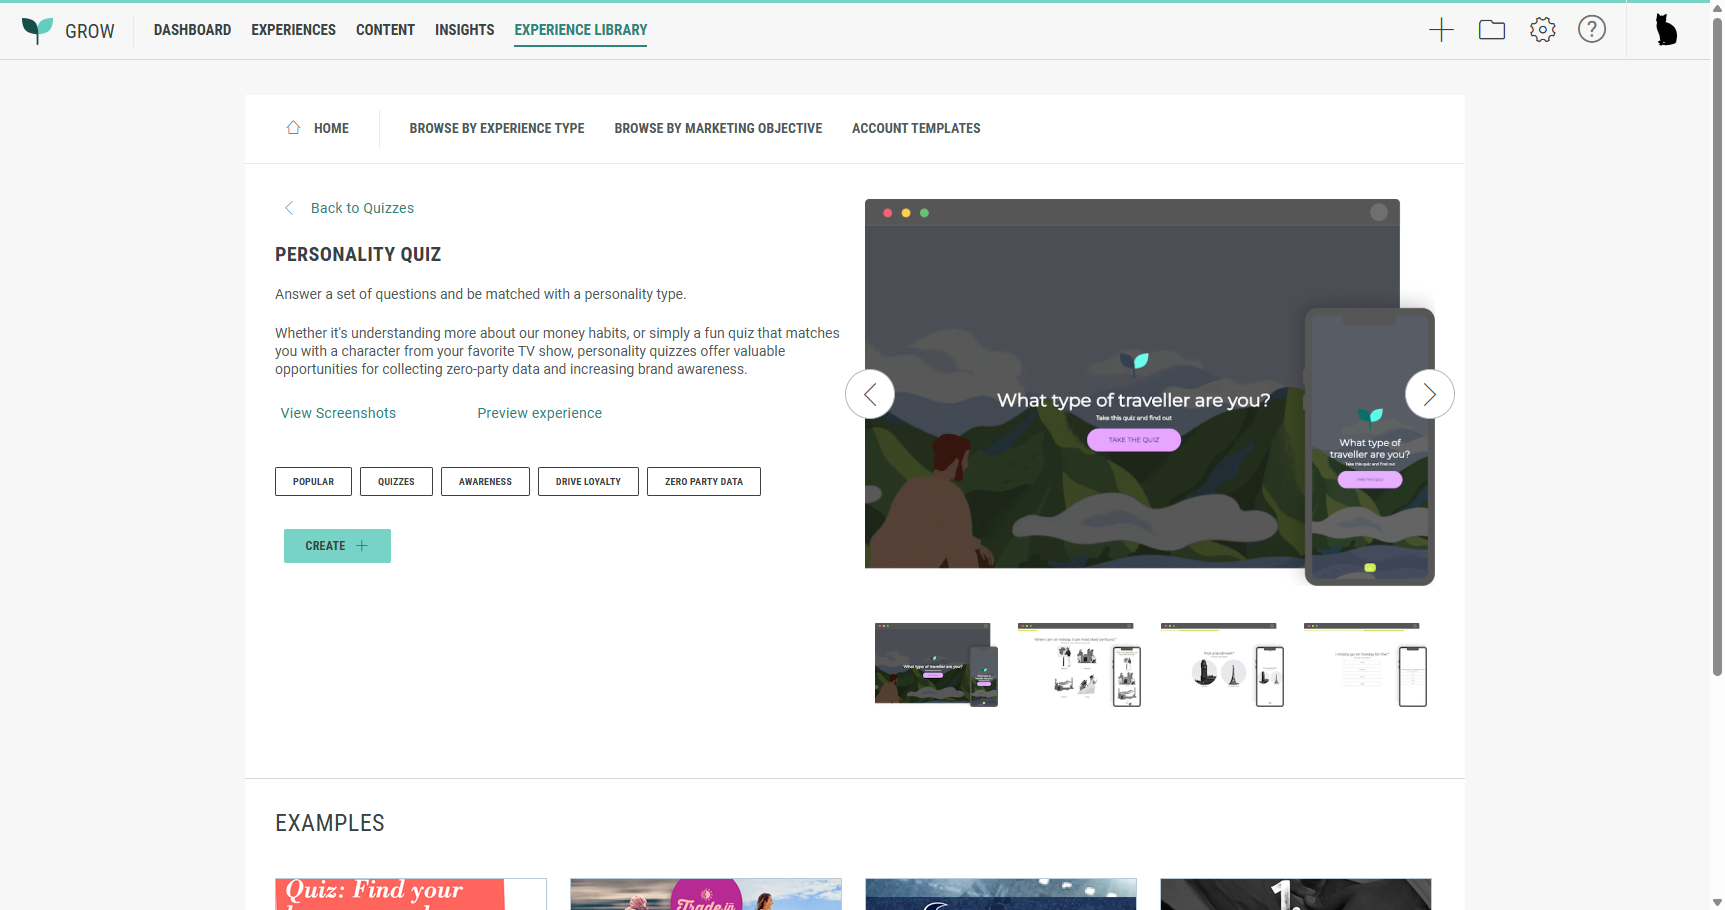
Note: You can click on the arrows at the right to scroll through some example screenshots of how a Personality Quiz typically looks like.
On the left, click View Screenshots to see them in full screen size.
Click Preview Experience to launch a Personality Quiz test version. That way you know how it will look and feel for actual Experience entrants later on.
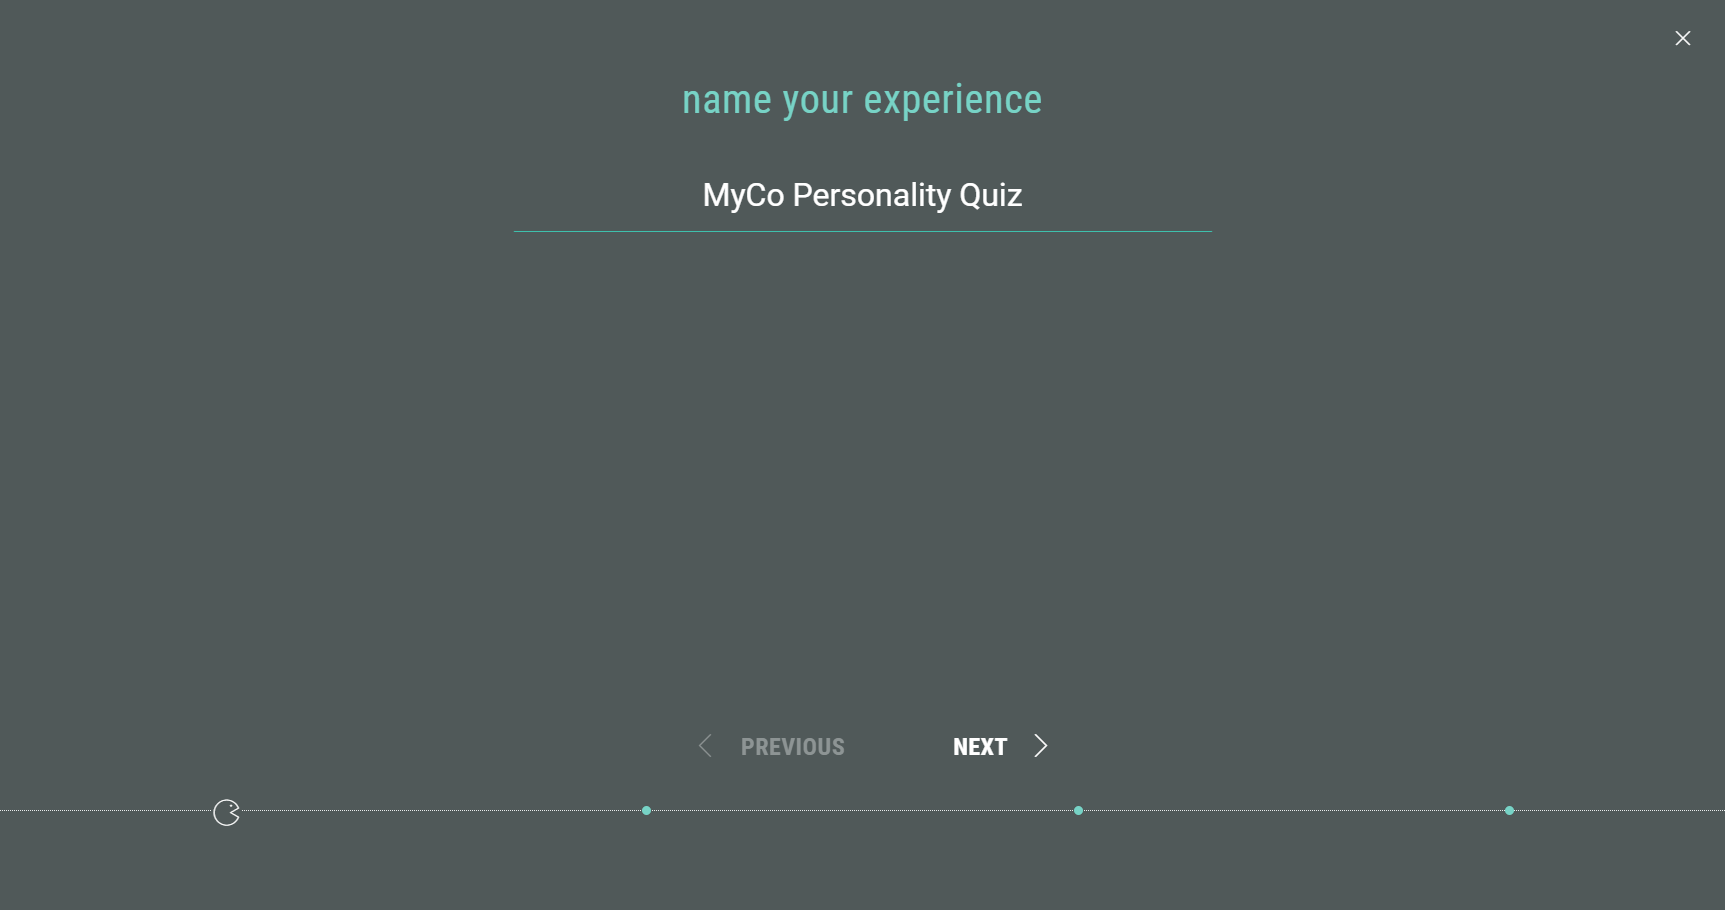
- Click the Create + button. A wizard is then presented to you to set up the basics for your new Personality Quiz.
Enter a name for the Experience. Then click Next.
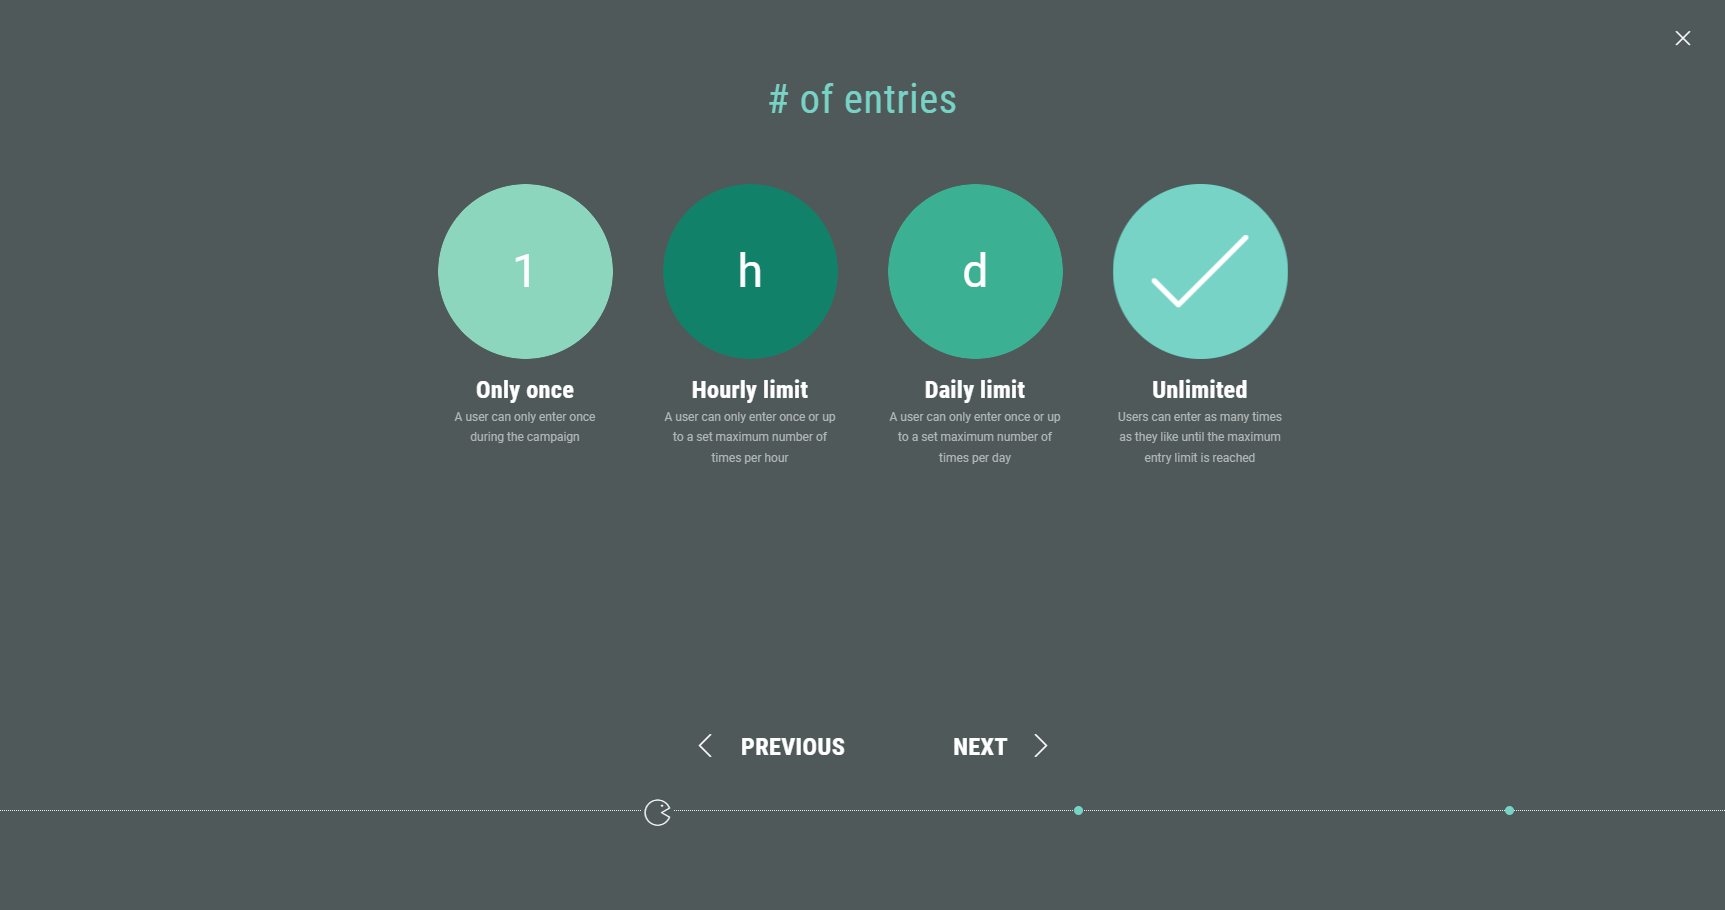
- Select the allowed number of entries per user.
This can be: Only once, a maximum number of times per hour or day, or an unlimited number of entries.
(For example, we use Unlimited.)
Then click Next.
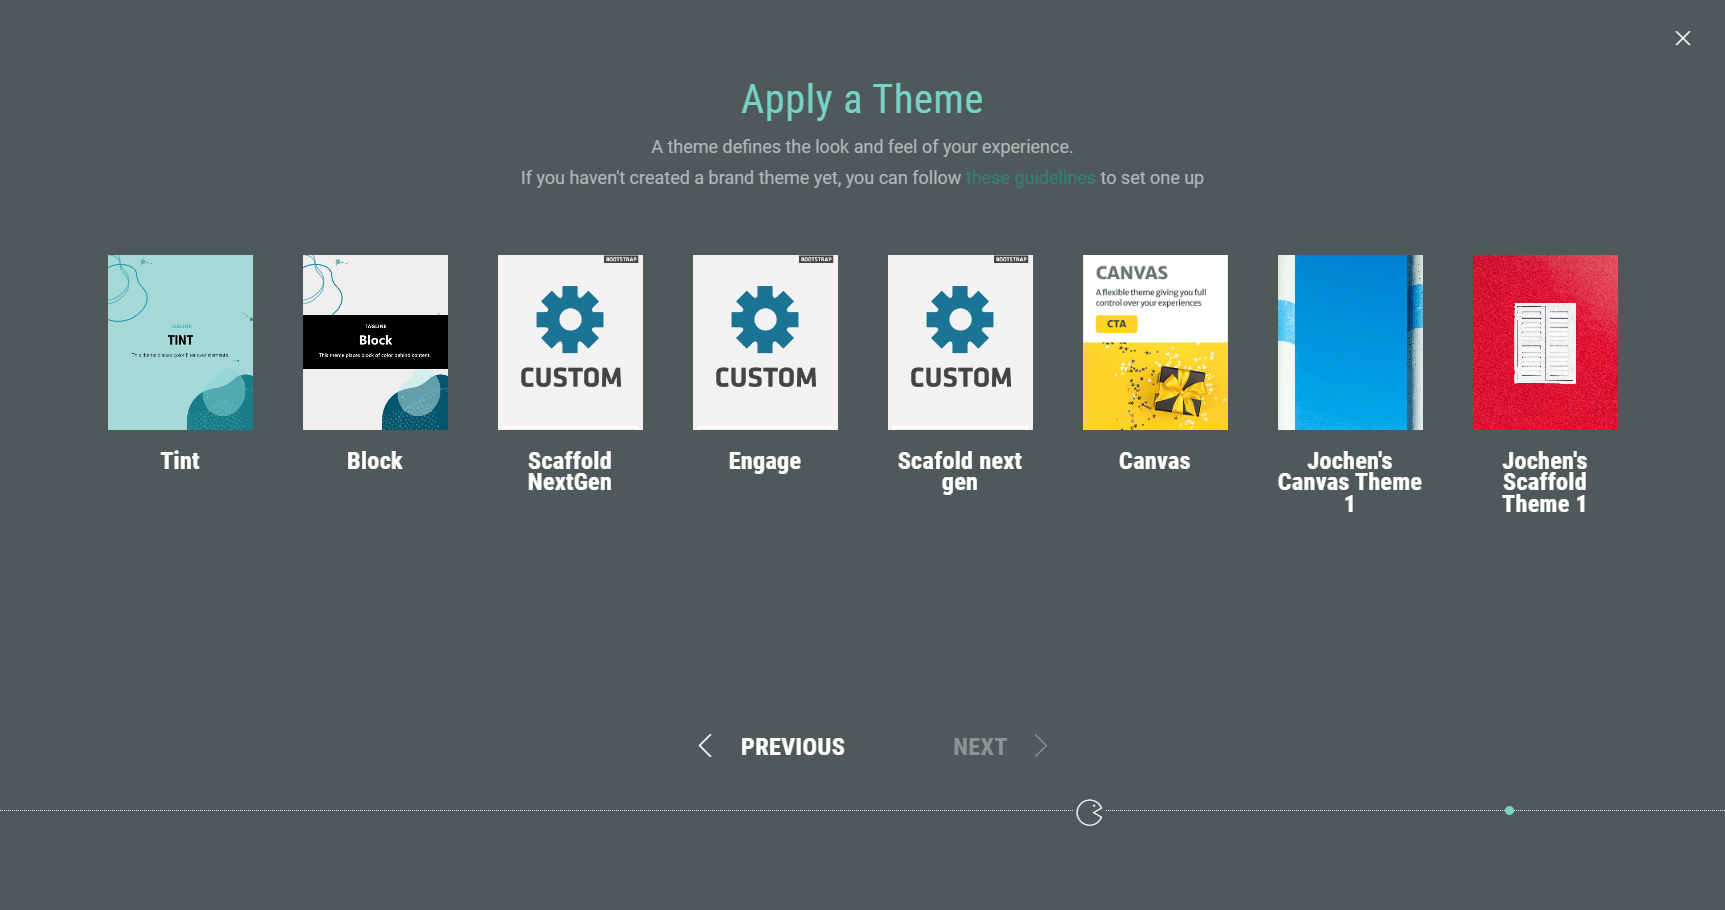
- Apply a theme. You can select one of your available themes. The theme determines the look and feel of your Experience.
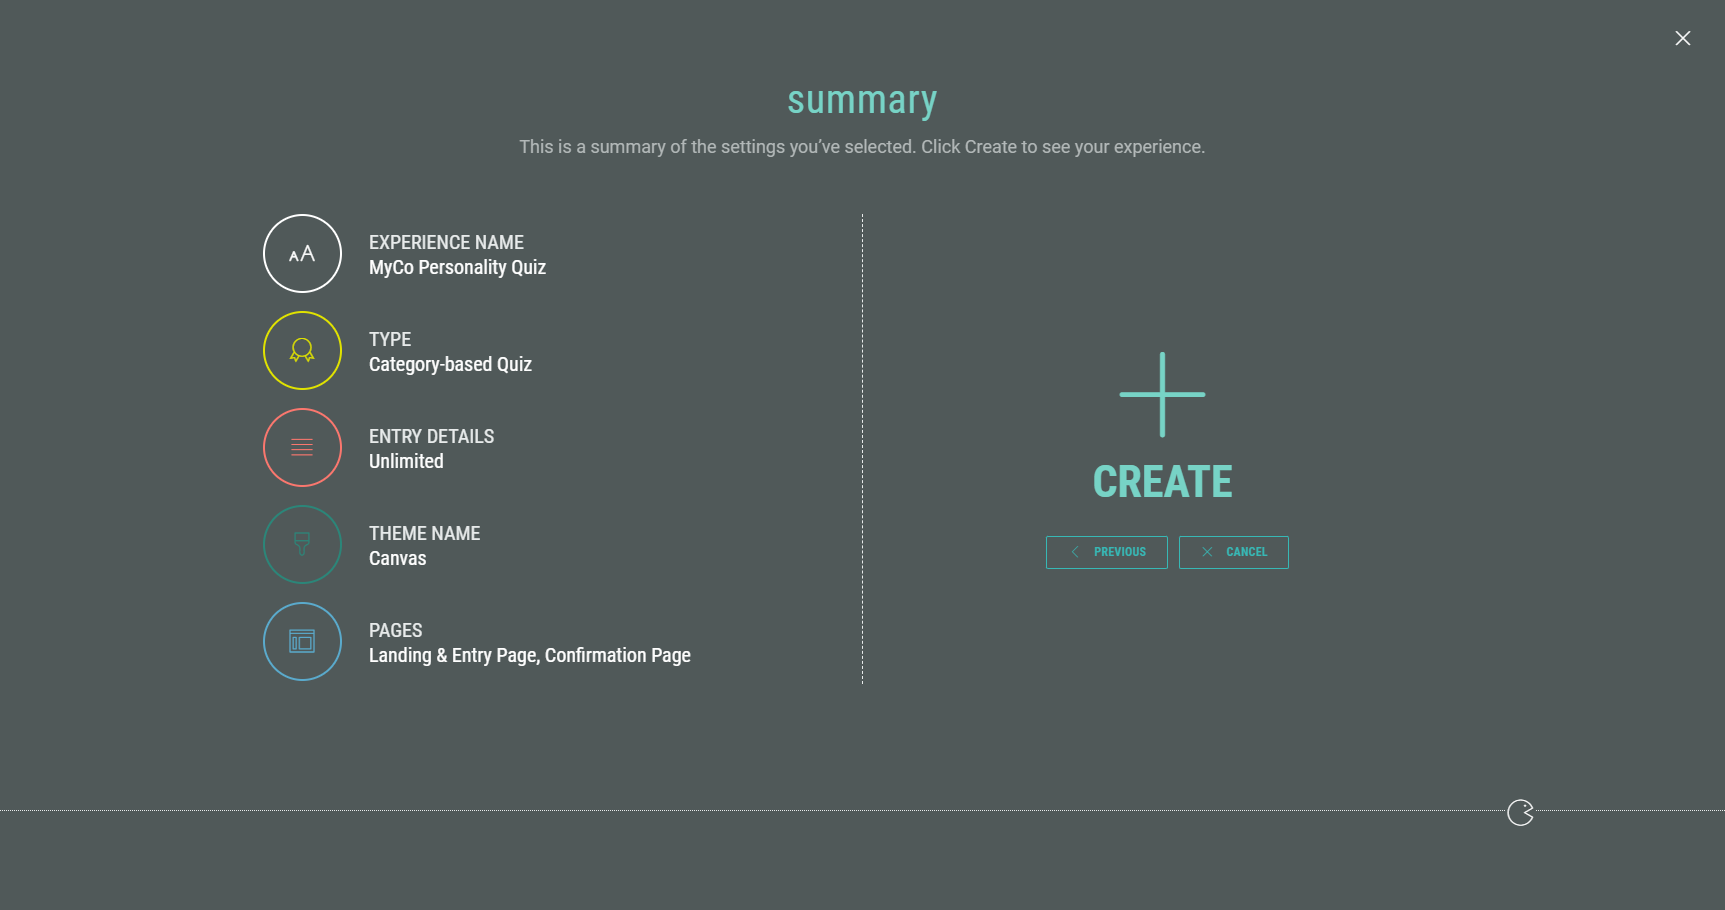
- Finally, you're presented with an overview of your Experience setup. If you’re happy, click Create to finalize your settings and create the Experience.
Customize your Experience
Once you have completed all the steps in the wizard, you land in your Experience area. Here you find several tabs to work through in order to build your Experience, define the Experience design, and publish your Experience.
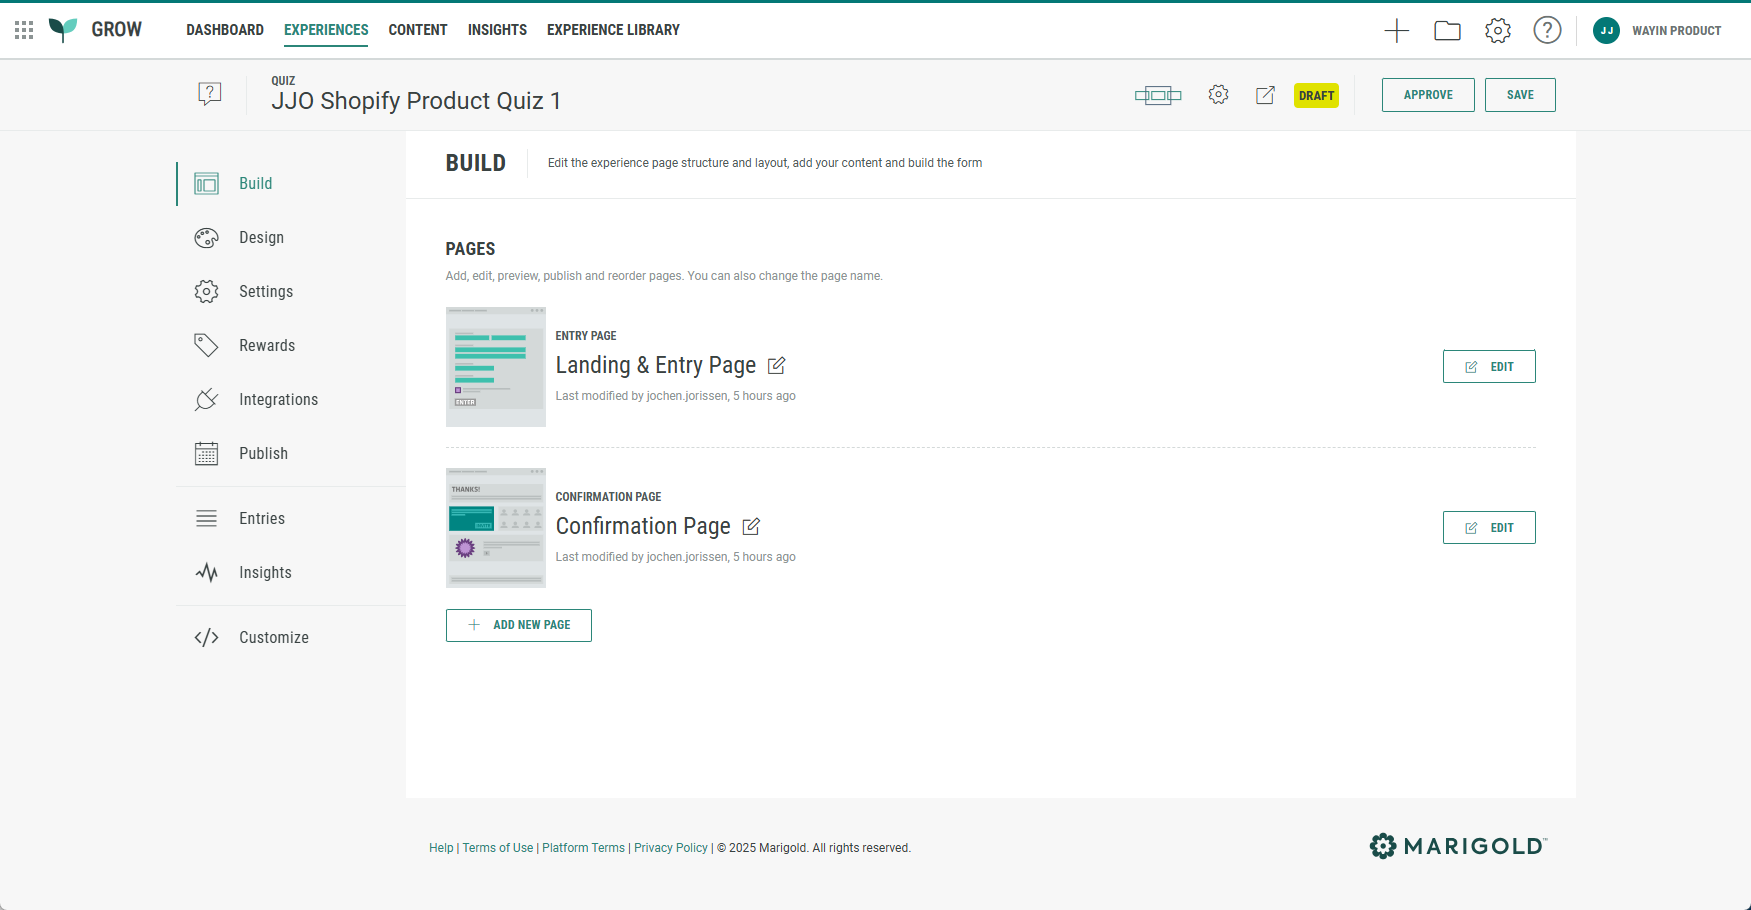
Build your Experience
Set up the Landing & Entry Page
The Build tab offers an overview of the pages included in your Experience. The Personality Quiz by default comes with a Landing & Entry Page and a Confirmation Page.
The Landing & Entry Page is the first page Experience entrants will see, where data capture takes place.
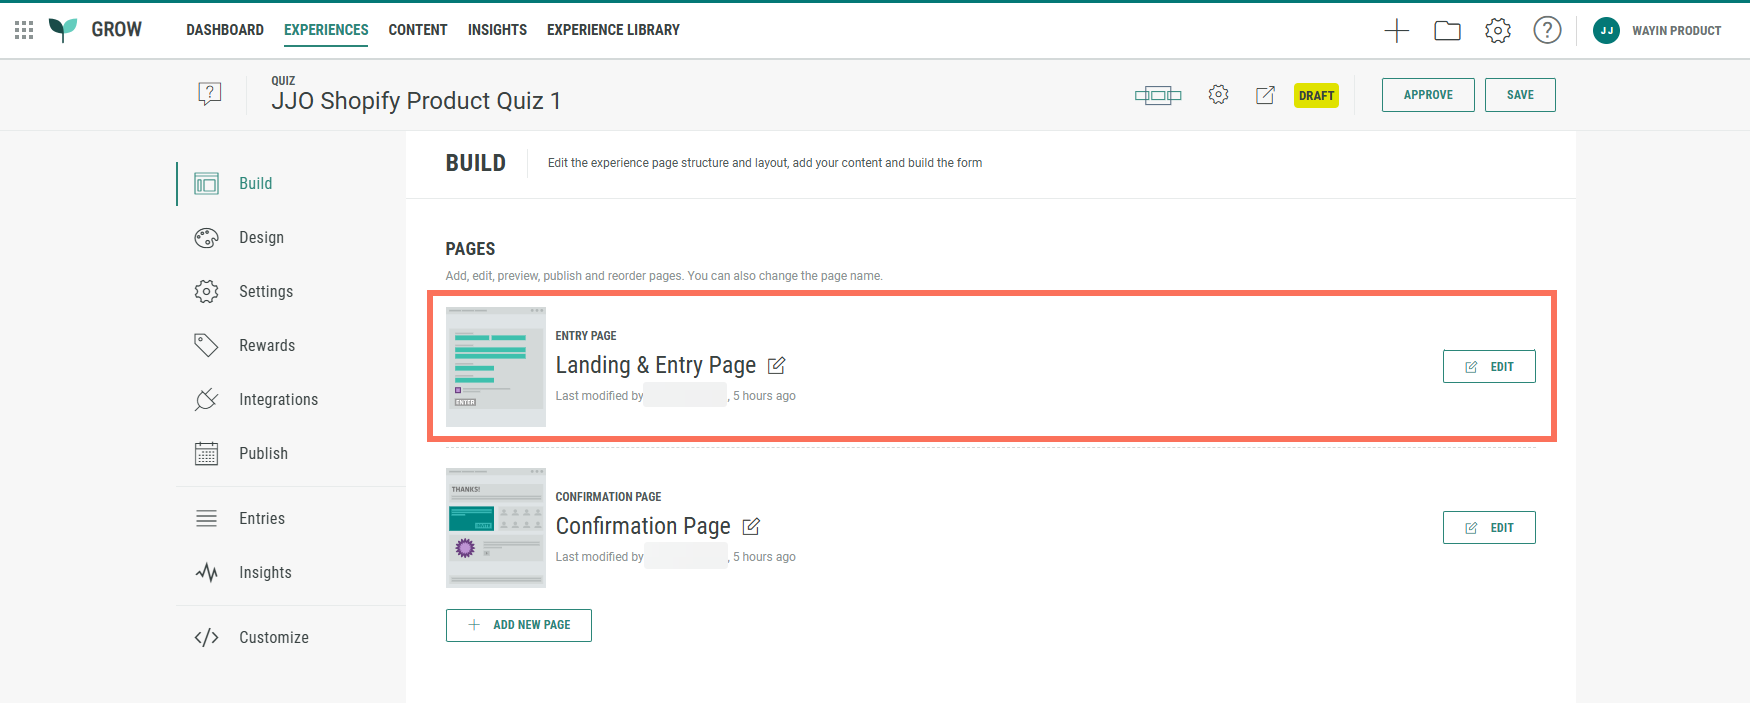
- Click on the Edit button at the right of the Landing & Entry Page.

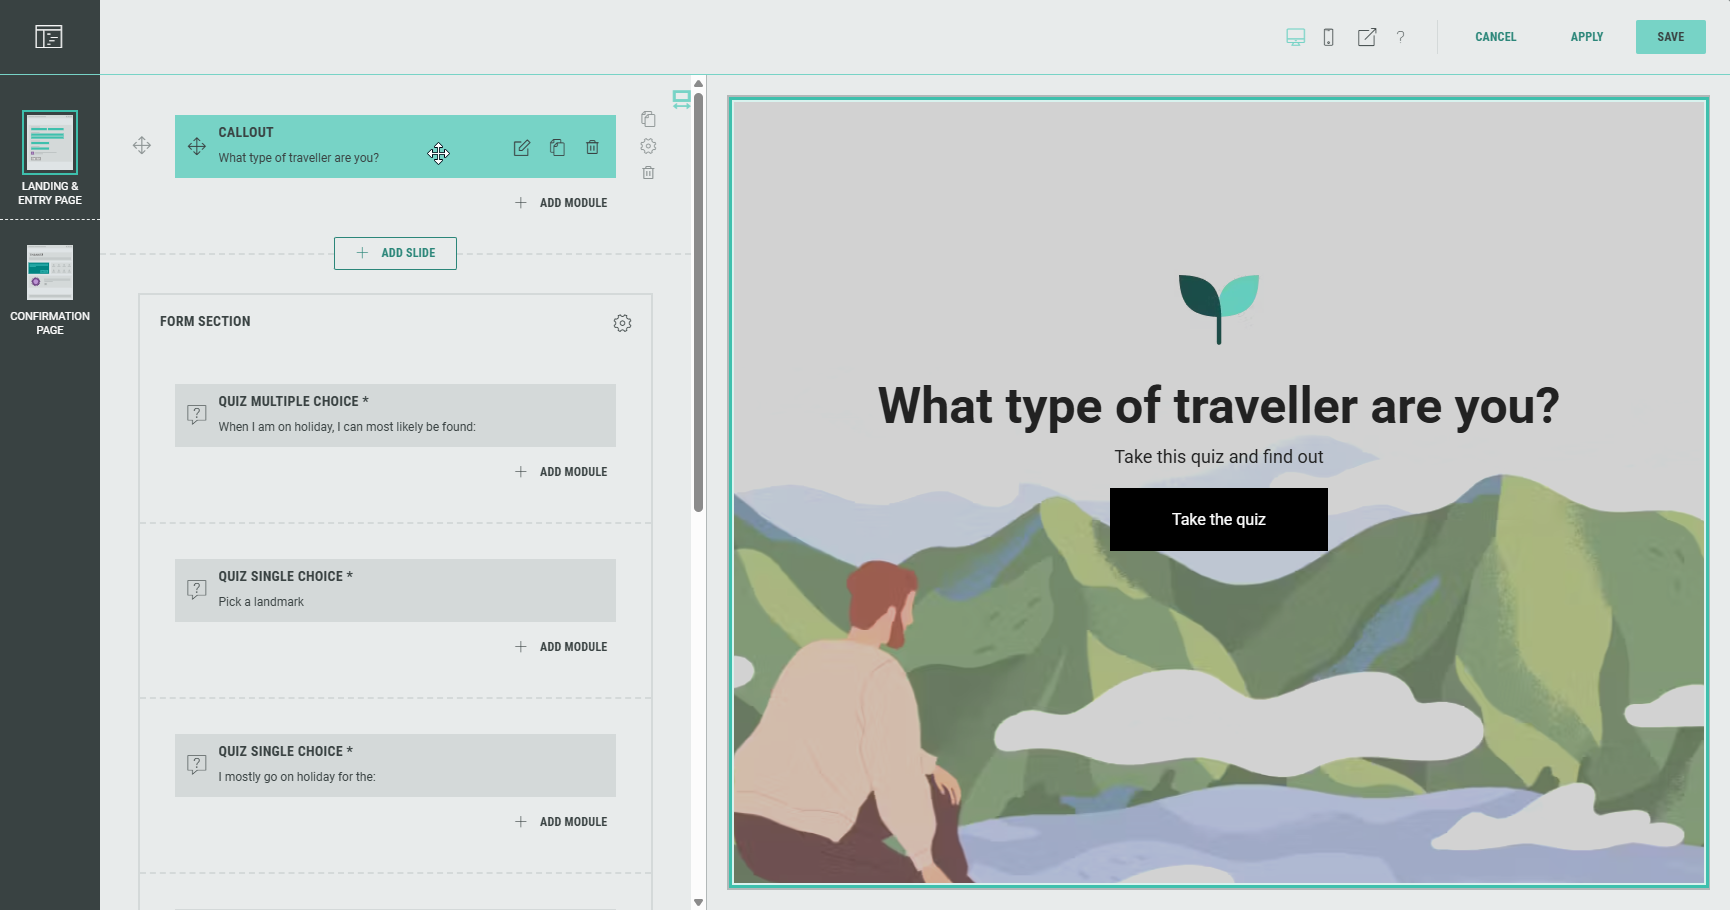
- The Page Builder is shown.
The Landing & Entry Page in the Personality Quiz by default contains five slides: a Callout slide and a Form section with four slides.
-
You can tailor the Callout module on the first slide to your needs. Click on the pencil icon on the right of the Callout module to edit it.
Example: Instead of traveller type, we want to know from our Experience entrants which movie archetype they are.
We edit the Callout module, and on the Content tab we modify the headline, text and background colors, and the icon image.
On the Design tab, we change the background image.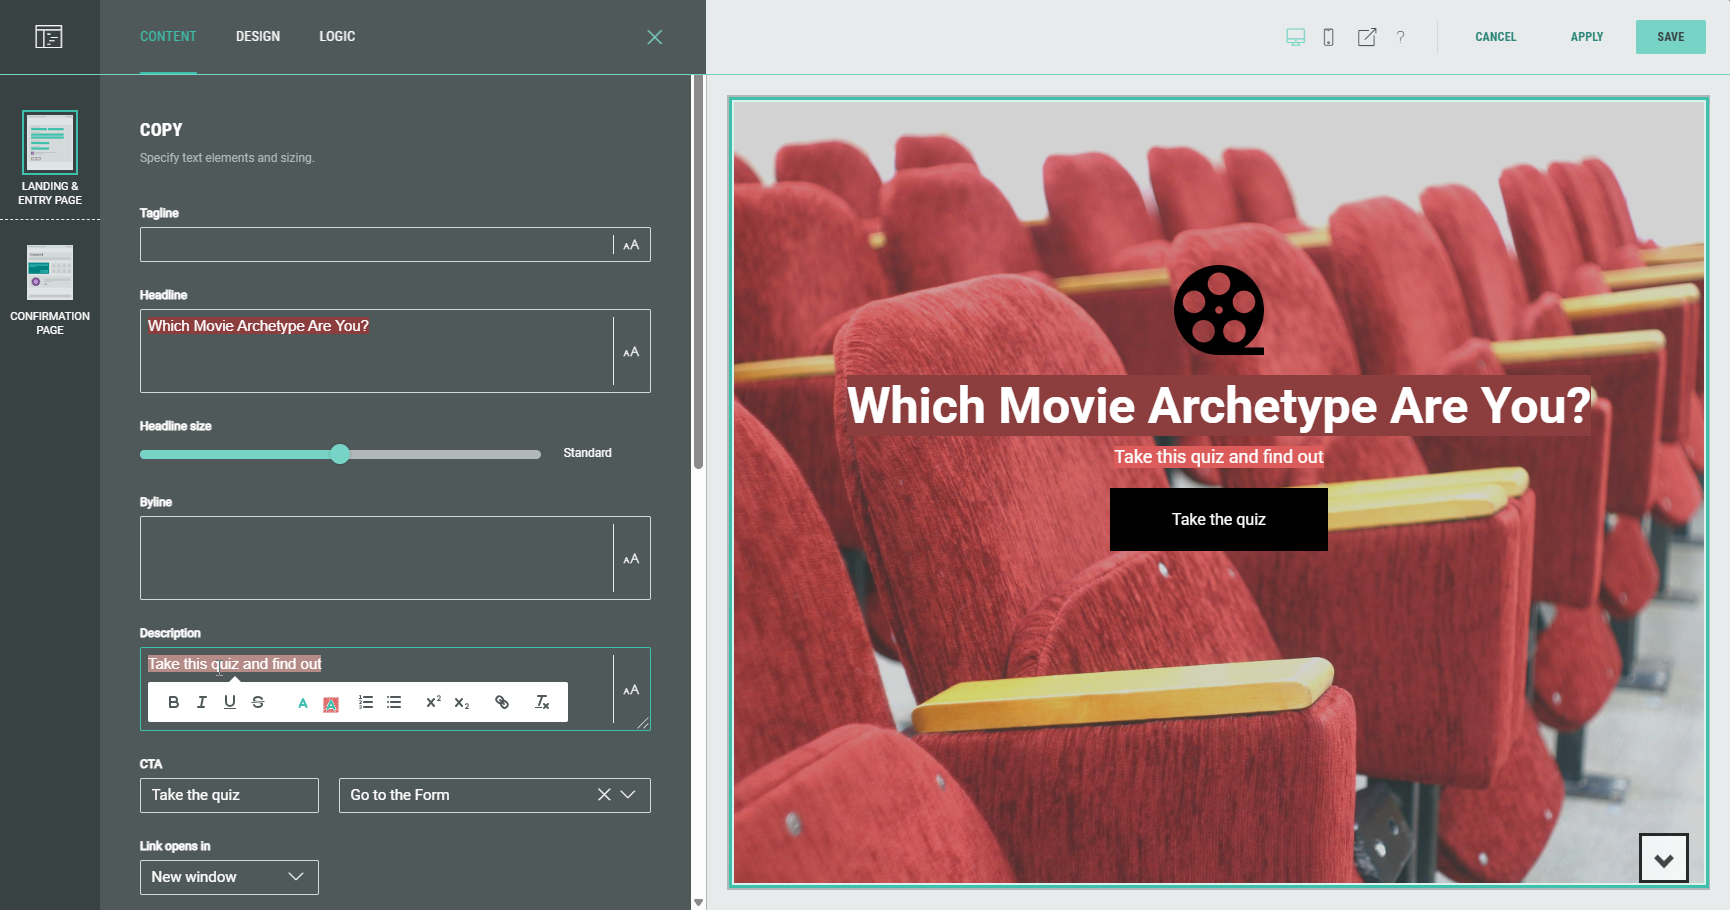
- Then we take a look at the Form section slides.
-
Form Section slide 1 contains a Quiz Multiple Choice module.
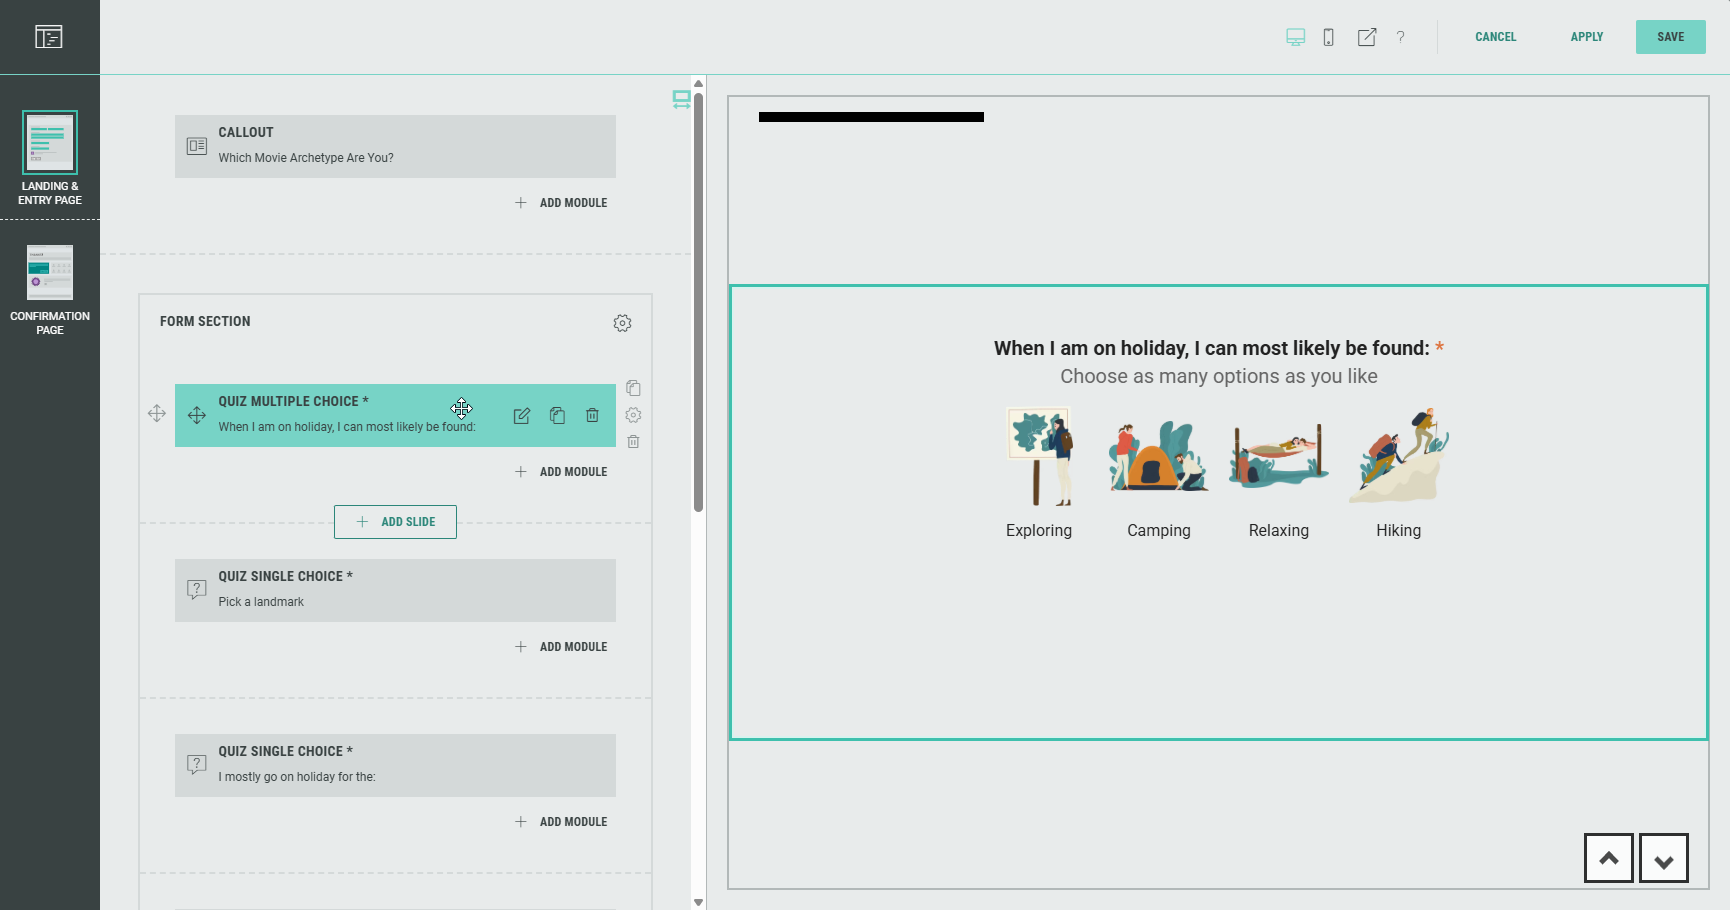
Example: Let's ask a question to discover what motivates their character development.
Edit the Quiz Multiple Choice module, and configure the following on the Settings tab:
- Enter a Friendly ID (to help you identify this field when synchronizing data with third party apps): character_development.
- Modify the label and option values(and set thumbnail images that go with them).
Don't forget to change the Data value of each option, so it's a clear value that corresponds to the option.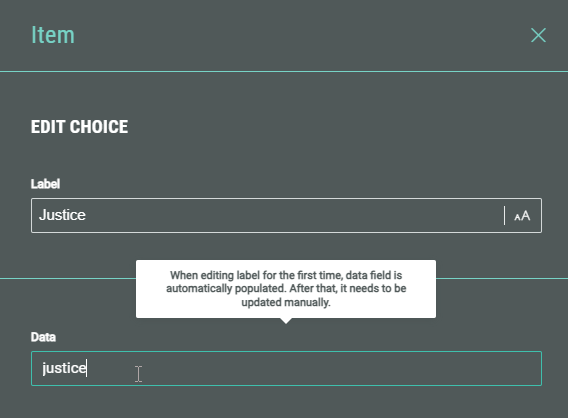
Furthermore, update the text colors.
On the Design tab, we change the field width to medium, template to grid with 4 columns, and the tile style to circle.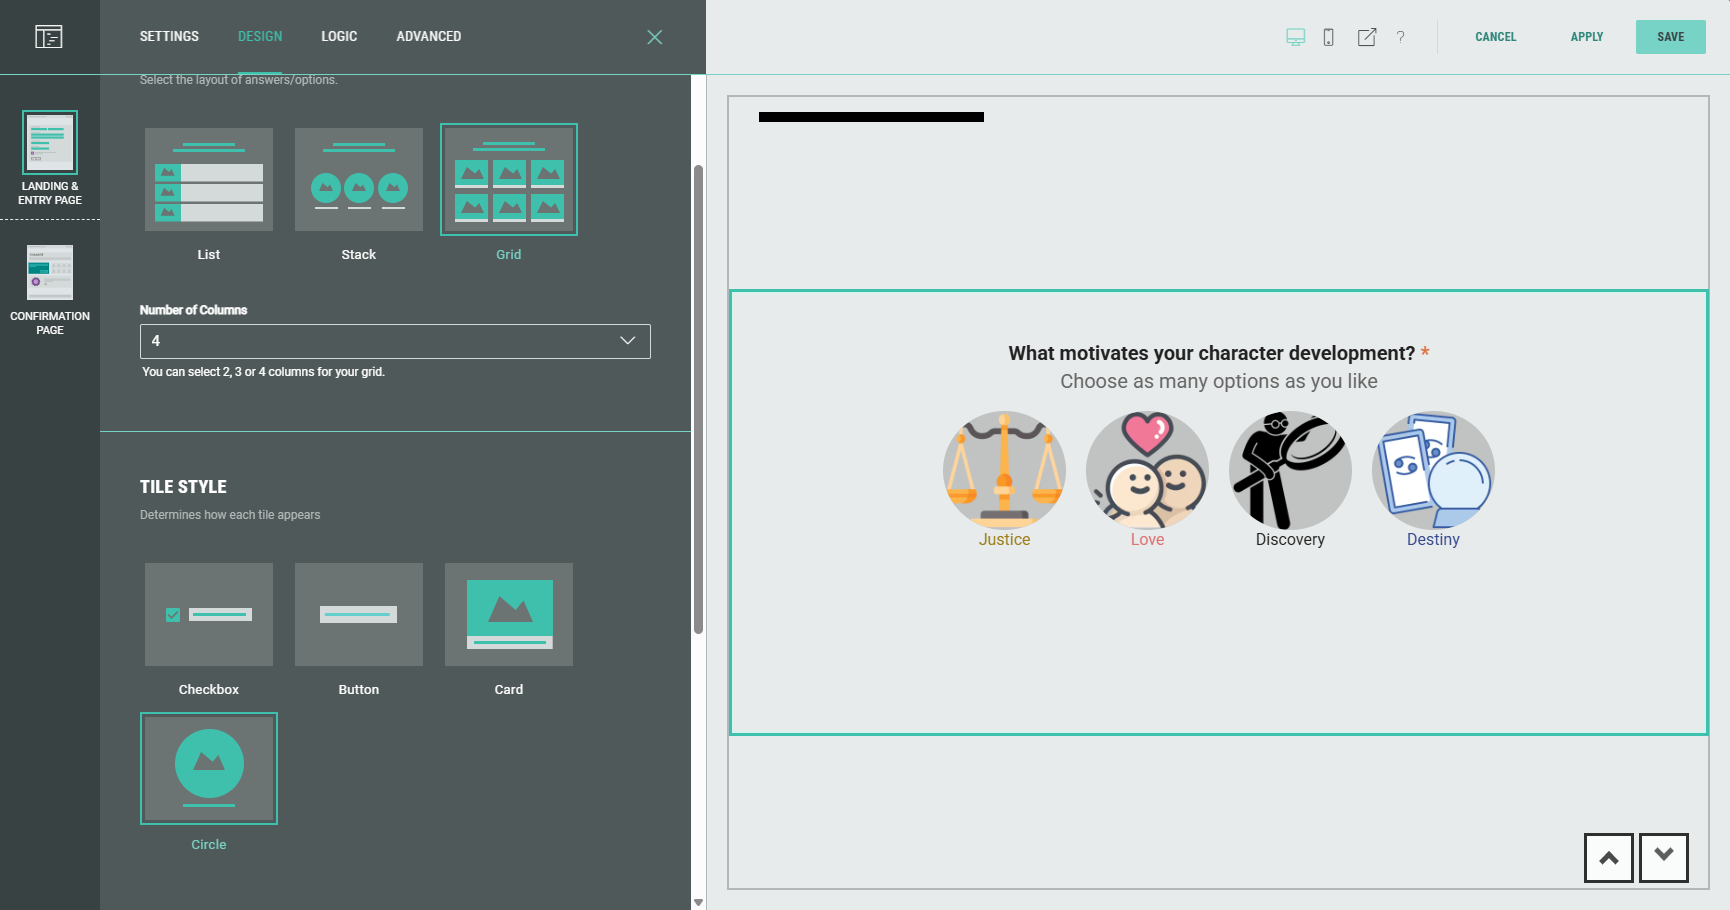
-
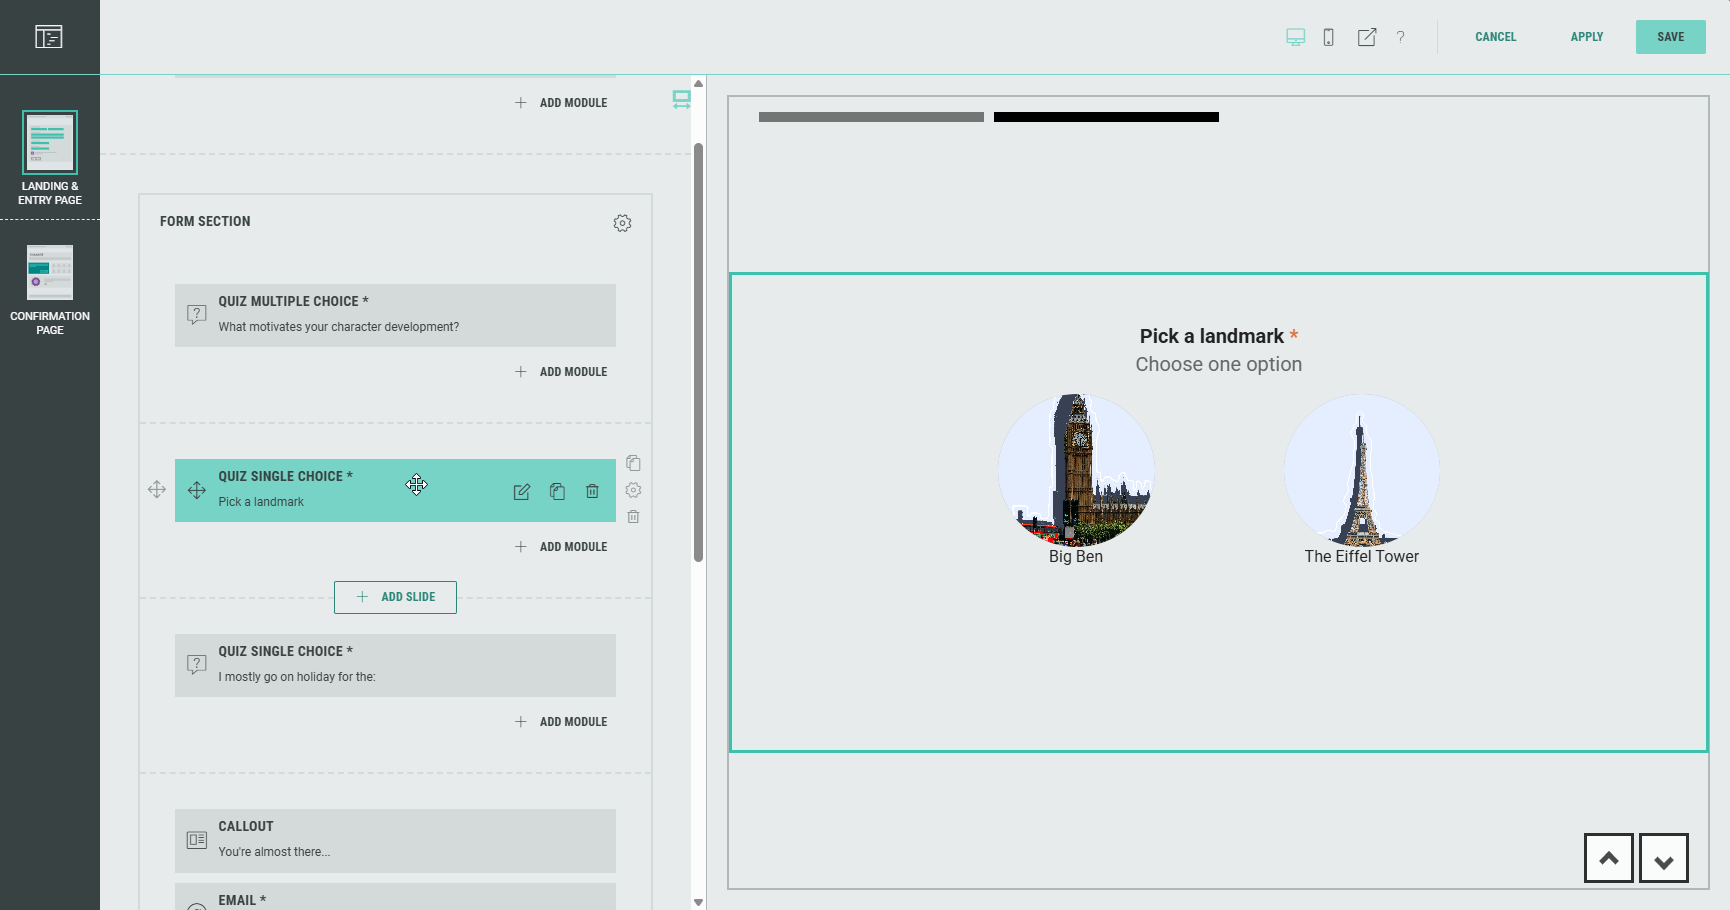
Form Section slide 2 contains a Quiz Single Choice module.
Example: Let's ask a question to find out about our participants' favorite kind of movie soundtrack.
Edit the Quiz Single Choice module, and configure the following on the Settings tab:
- Enter a Friendly ID (to help you identify this field when synchronizing data with third party apps): movie_soundtrack.
- Modify the label and option values (and set thumbnail images that go with them).
Don't forget to change the Data value of each option, so it's a clear value that corresponds to the option.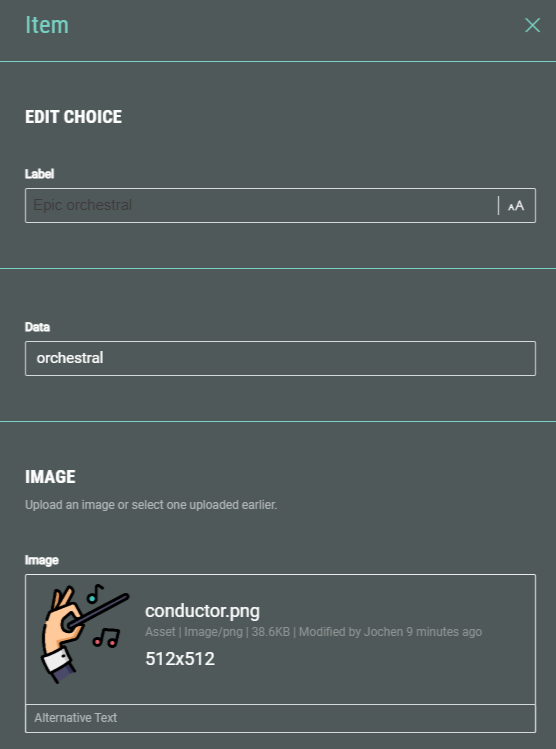
Furthermore, update the text colors.
On the Design tab, change the field width to large, template to grid with 4 columns, and the tile style to card.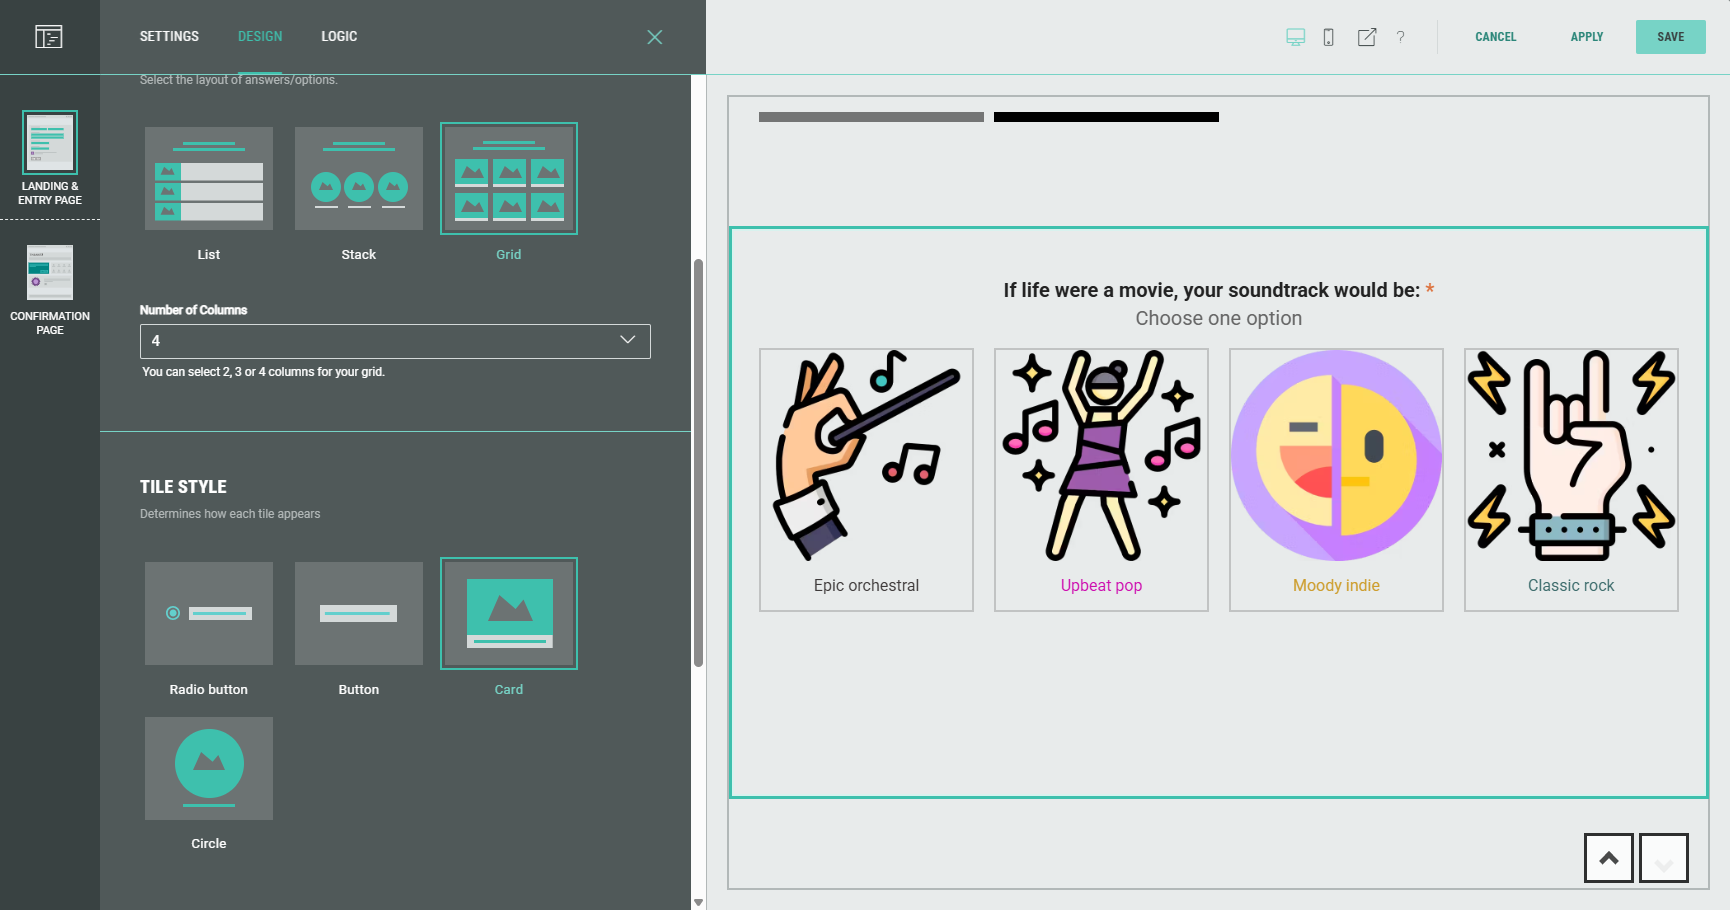
-
Form Section slide 3 contains another Quiz Single Choice module. Modify it to your needs.
Example: Let's ask a question to find out more about the participants' personality.
Edit the Quiz Single Choice module, and configure the following on the Settings tab:
- Enter a Friendly ID (to help you identify this field when synchronizing data with third party apps): movie_soundtrack.
- Modify the label and option values.
Don't forget to change the Data value of each option, so it's a clear value that corresponds to the option.
On the Design tab, change the field width to medium, choose list as template style, and select radio button as tile style.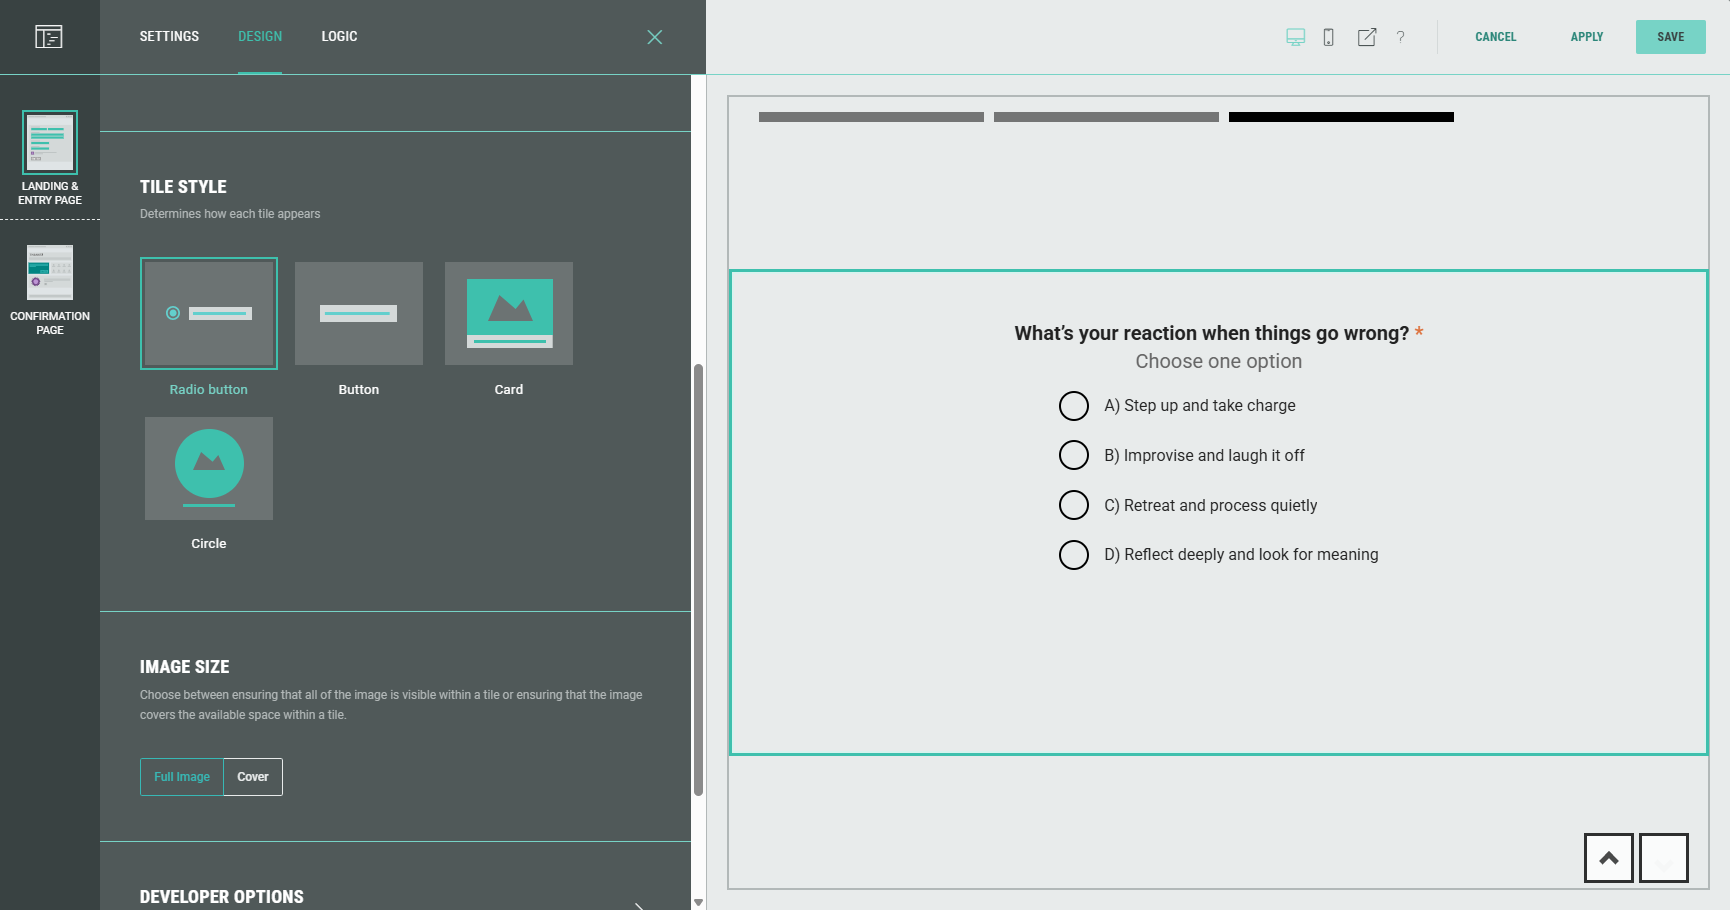
Note: In all Quiz Single Choice and Quiz Multiple Choice modules, underneath the option values, you can click on Modify Results to navigate to the Quiz Results section, to map questions and quiz results. We won't do this yet, but when configuring the Quiz Results module itself.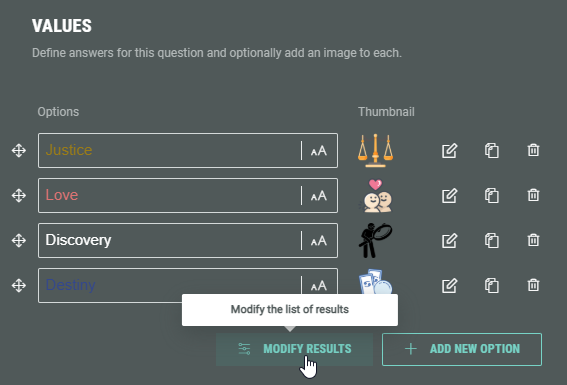
-
Form Section slide 4 contains Content and Form-type modules — A Callout module to highlight some key information, an input field to request the participant's Email address, a checkbox to Opt-in to email offers and updates, and a Submit button. You can modify each of these as desired.

- Optionally, you can add rows to the Landing & Entry Page.

- If desired, you can add additional modules too.
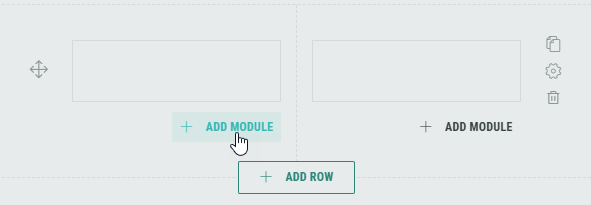
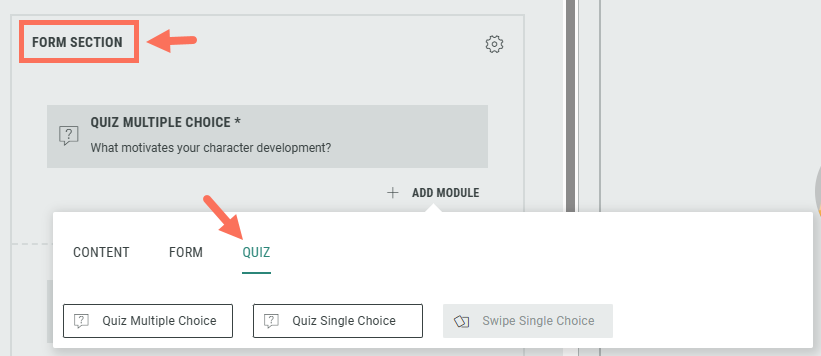
Note: You can add, edit and delete modules, and customize each module for your Experience.
Form & Quiz modules can only be added inside the Form Section.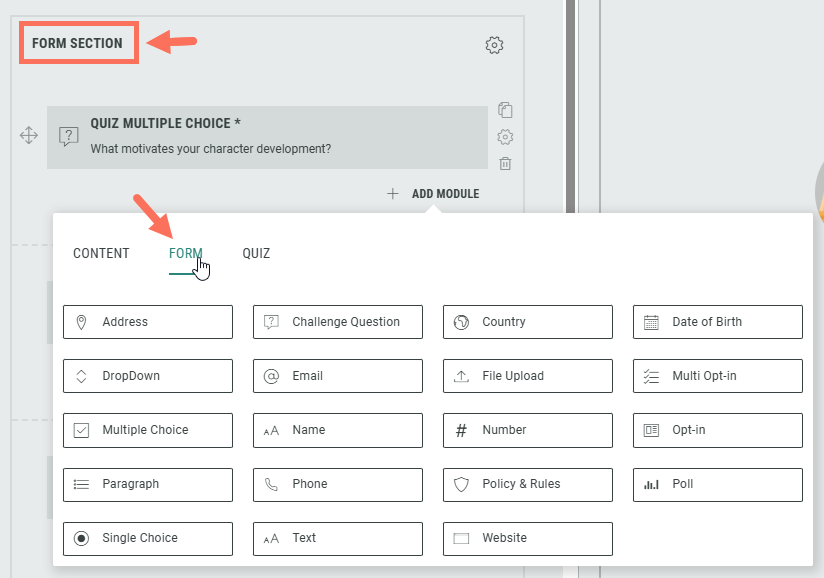
- Within the Form Section you can click on the Gear icon to access the Form Settings.
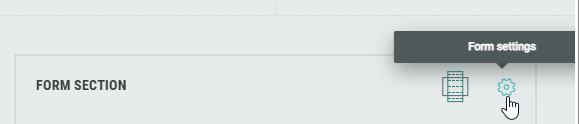
In the Form Settings, you have the ability to customize the form such as adding a background image and color, and changing the field style. Consult this topic for more info on the Form Section.
Example: In the Form Settings, let's set the field size to large, and add a background image.
This impacts all slides in the Personality Quiz.
Note: On the Advanced tab in the Form Settings, you can define a Customer ID for linking data collection to the correct user profile. More info on this subject can be found here.
Confirmation Page — Quiz Results module
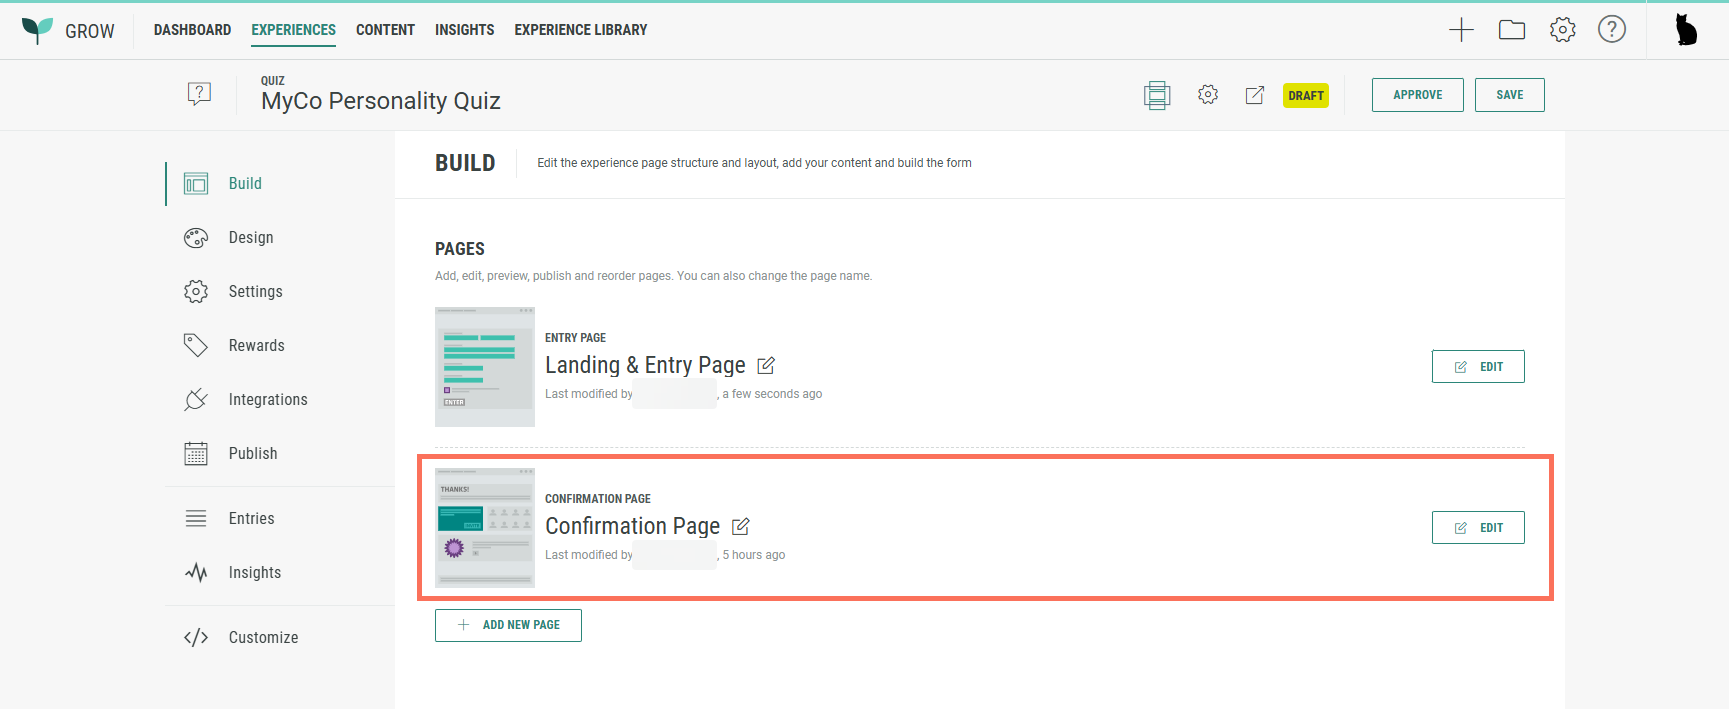
Below the Landing & Entry Page, you can see the Confirmation Page.
The Confirmation Page is the final page of the Experience. It's displayed as soon as the participant hits the form submit button.
From the Experience Build tab, click on the Edit button at the right of the Confirmation Page to enter the Page Builder.
Note: When you're already inside the Page Builder, you can switch between pages on the left.
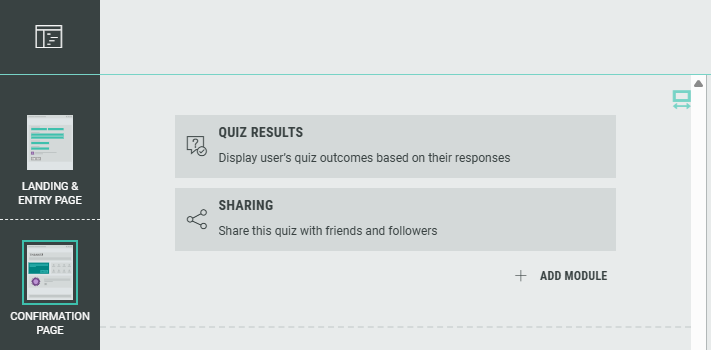
Click on the Confirmation Page to edit it.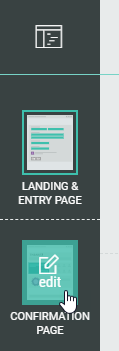
The Confirmation Page contains a Quiz Results module and a Sharing module.
Configuring the Quiz Results module
The Quiz Results module is a participation-type module, used to display results from a Quiz-type Experience such as the Personality Quiz.
Click on the Pencil icon at the right of the Quiz Results module to edit it.
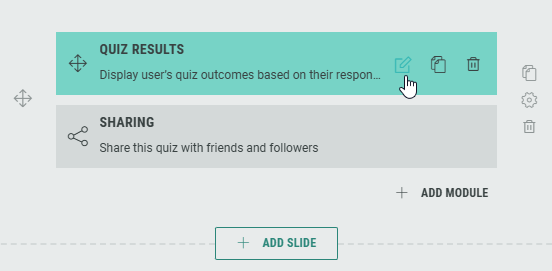
The following screen will be shown:

Manage results
- Let's define the results for the Quiz Results module. Click on the Manage Results button.
The possible results are then shown.
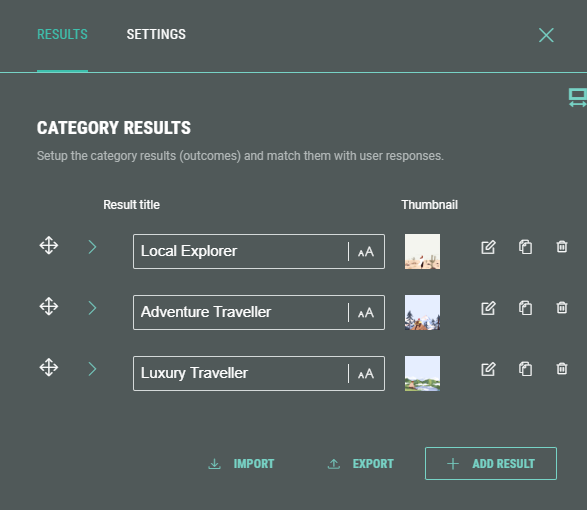
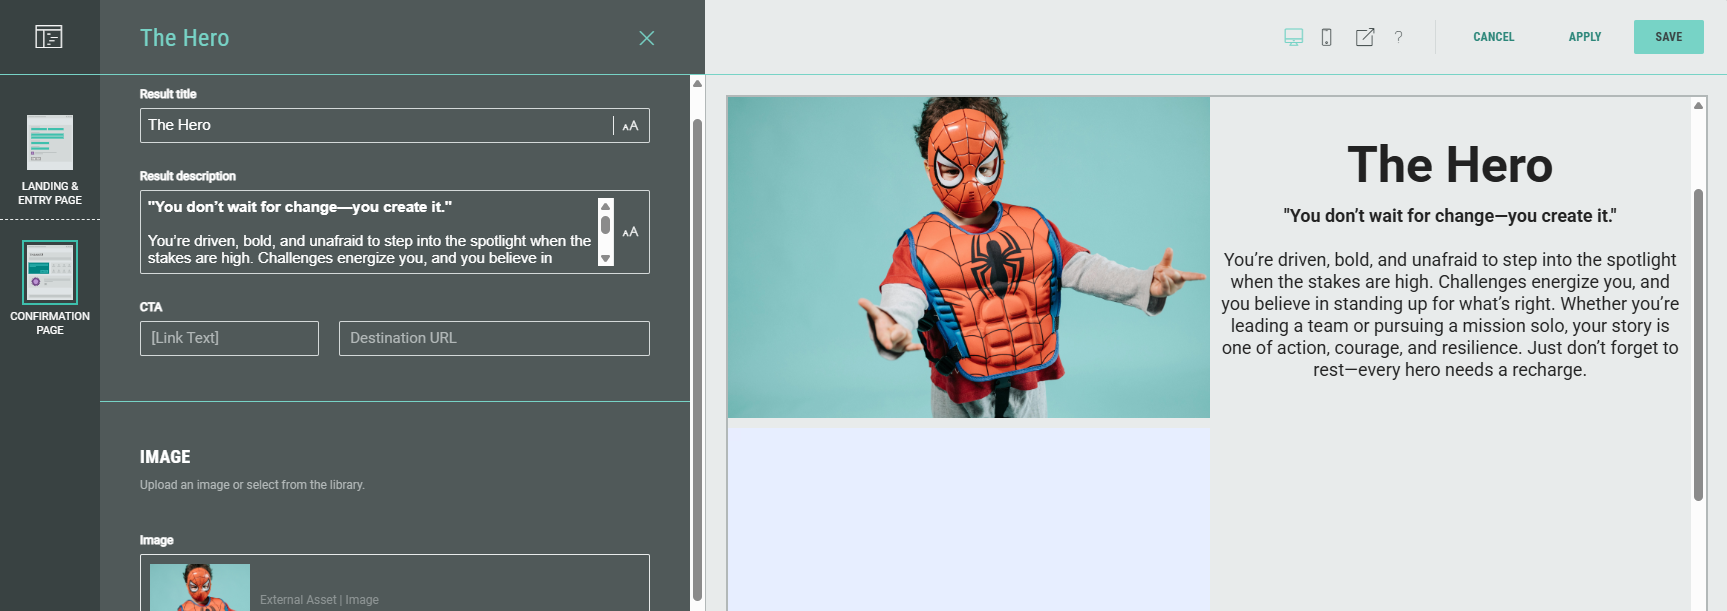
- Let's update each result, so it makes sense for our Movie Archetype example.
Click on the pencil icon next to each option to edit it.

- For each option, set the result title, description, image, and Friendly ID (for third party synchronization).
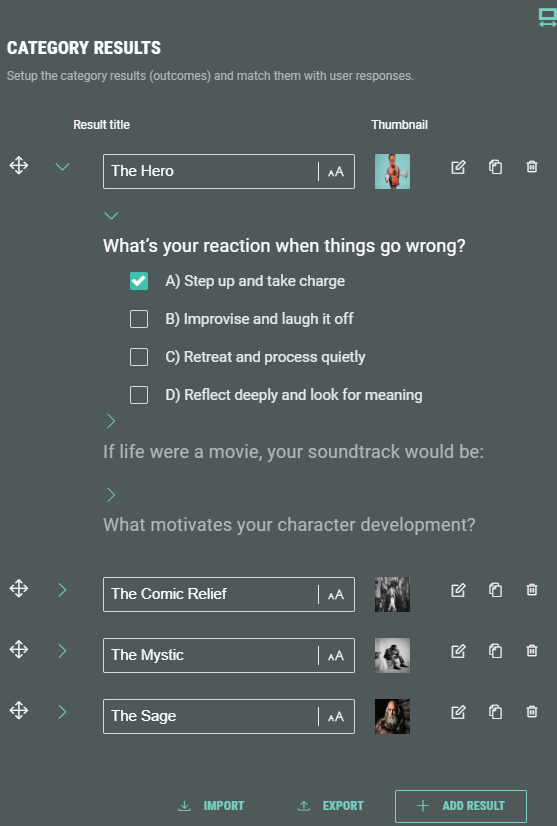
- Now let's map the quiz questions and quiz results.
Click on the arrow on the left of each result to expand the result and see all quiz questions.
Then click on the arrow per question and select which answers match the result. For each question, this can be a single answer or multiple answers.
Note: To ignore a quiz question, you need to select all answer options.
- On the Settings tab within the Manage Results section, define how the results should be displayed to entrants.
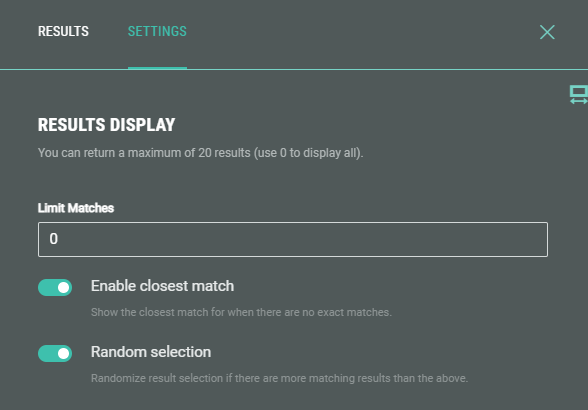
- You can limit the maximum number of results to display.
Example:
0 = display all of them
1 = display only 1 matching result
5 = display a maximum of 5 matching results
- Enable closest match — Enable this toggle to still show results based on the closest match, even if there are no exact matches based on the chosen quiz answers.
Note: For a Personality Quiz, you probably want to enable closest match. (For example, to show the Movie Archetype that fits you best, based on your given answers.)
Enabling the closest match means the quiz uses OR logic, where any match contributes to the outcome. This allows (personality) quizzes to better reflect individual variations.
Instead of starting with all results and filtering these out (when closest match is not enabled), we're adding up points for every answer that matches the outcome and returning the outcome that has accumulated the most points.
Note: For a Product Match Quiz, you probably want to disable closest match. (For example, to show white T-shirts as results, when the given quiz answers were product type T-shirt and color white.)
Disabling the closest match means the quiz uses AND logic, where all criteria must be met for a product to be shown as outcome. This prevents mismatches like seeing blue sweaters when they answer white T-shirts.
Think about this in the context of search filters when shopping on a retail site. If you search for a generic term such as T-shirt, it will return all T-shirts.
We want to filter these results to only show what’s relevant and we do this by asking a series of questions.
- Random selection — Enable this toggle to randomize the results shown, when there are more matching results than set as the limit above.
Note: You can re-arrange results, duplicate them and delete them.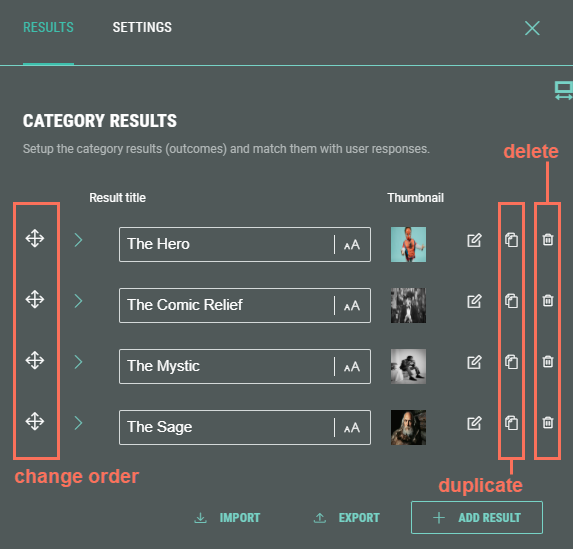
You can add new results by clicking the + Add Result button.
Additionally, you can import a list of results (which must be a comma-separated list of values) or export the current list of results to a comma-separated list of values that can be copied to your clipboard. Tip for importing a list: Click export to see the used format that is also expected for importing a list.
- On the Content tab, define text (and other) copy for when results are available, and for when not.
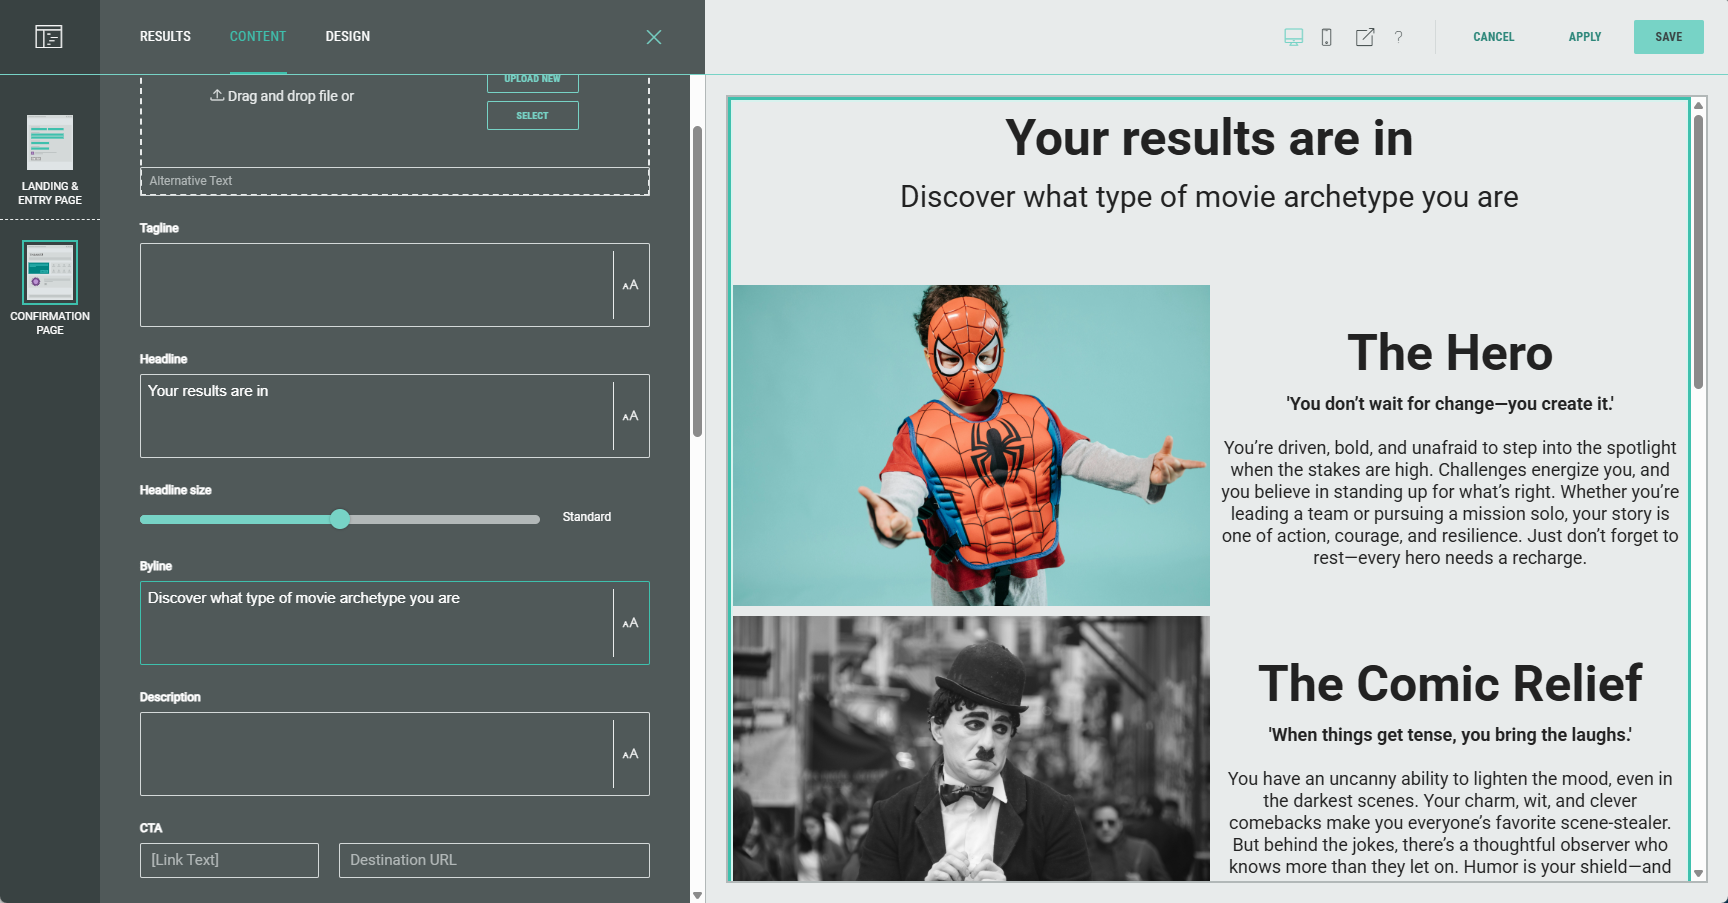
- Additionally, change the look and feel of how the results are shown on the Design tab.
Note: You can find more info in this topic to see how to manage the quiz results, content and design.
Confirmation Page — Sharing module
The Sharing module is a content-type module, to share the quiz with friends and followers on social media.
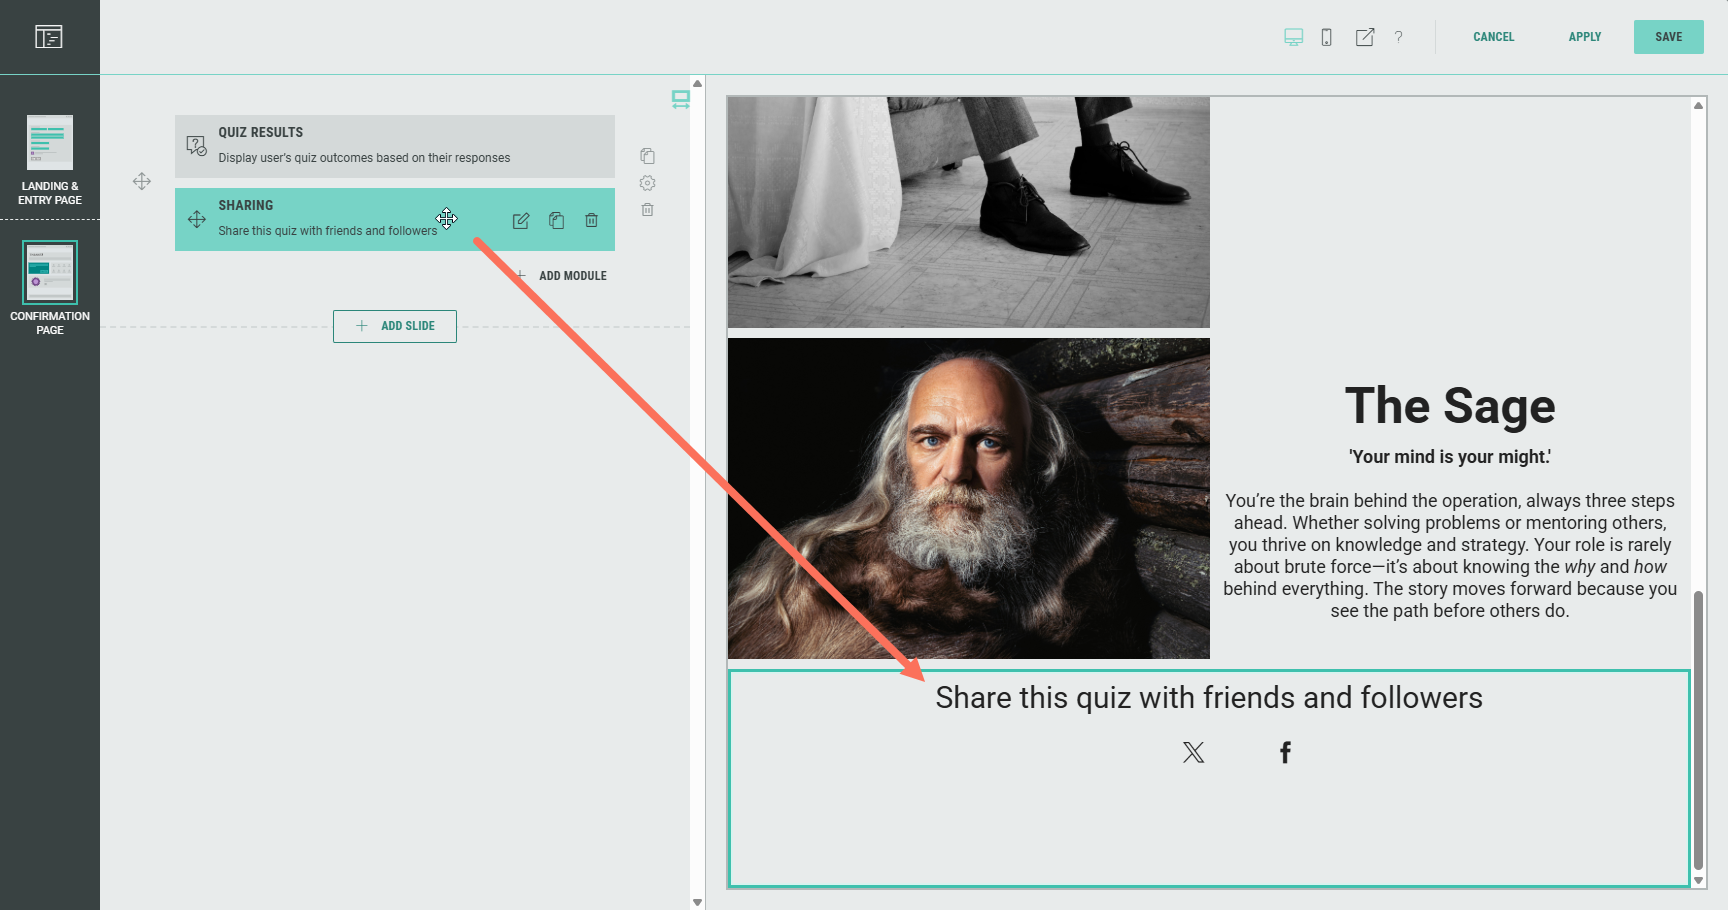
Click on the pencil icon to edit the Sharing module, and configure it to your needs.

Note: Have a look at this article for more details on the setup of the Sharing module.
Confirmation Page — General info
As with the Landing Page, you can add, edit, and delete rows and modules to customize your Experience.
Note: Don't forget to save your changes (see Page Builder actions).
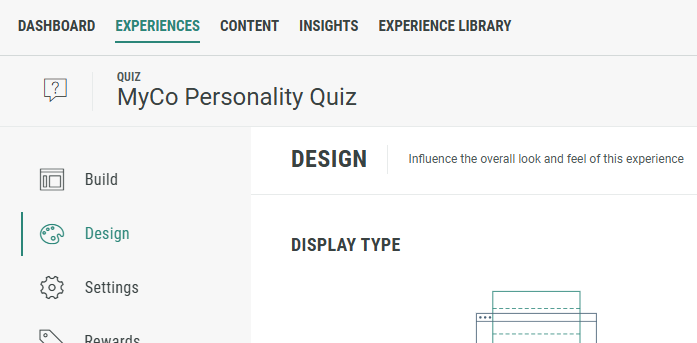
Design your Experience
The Design tab can be found directly below the Build tab. Here, you can customize your Experience with the Display Type (Page- or Slide-based), change or edit the Theme, and add a footer and background in the Page Structure and Design section.
Note: More info on the Design tab can be found here.
Define key settings for your Experience
On the Settings tab, you define and edit the key settings for your Experience.
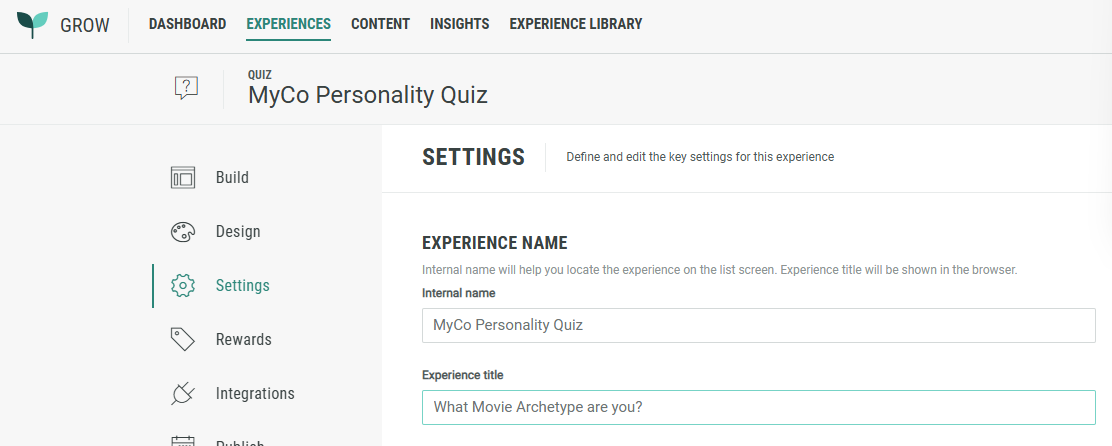
Make sure you enter an applicable Experience title.
This title will be shown as the page/tab title in the internet browser the Experience participant is using.
Note: Here you can find more info on the Settings tab.
Add Rewards to your Experience
A Reward is an incentive offered to customers for participating in a Grow Experience, with the ultimate goal of learning something new about that customer or driving engagement with your brand. Rewards, like prizes, offers, or coupons, can be provided in real-time and have been shown to boost overall engagement. They can be structured as everyone wins or with set odds with consolation rewards as an option. Inclusion of a reward in your experience will boost participation.
Note: More details on Rewards can be found here.
Publish your Experience
Once you're happy with the setup of your Experience, you can move on to the Publish step.
We offer 3 ways to publish your Experience.
You can either embed it on your website, host it within a pop-up, or publish as a landing page.
Note: Here you can read more about the publish options to make sure you pick the right one for your business needs.

